Tag Archives: do it yourself

DIY Cheeky Bikini Bottoms

28 May

IMG_20130527_225856_068 Okay my Florida people; it’s that time of the year! The sun is out, the weather is warming up, the beaches are getting packed, and social networks are being blown up with pictures of people under the sun in their bikinis! Although I love the cold weather because my hair stays perfect and my makeup actually stays on my face, however I also love lying under the sun, getting tan and cooling off in the salty ocean waves. While browsing Pinterest, as I so often do, I came across another DIY project that I just HAD to do. I know I’m not the only girl who hates those big, baggy, saggy granny panty bikini bottoms that create the ugliest tan lines of mankind, and if you try to buy “cheeky” bikini bottoms, or thongs even if you’re shameless, they’re pretty pricy ($30+). Not to mention the fact that I’m Brazilian and in Rio de Janeiro EVERYBODY walks around in thongs, speedos, even naked! I would never do any of that here in America, so I’ll do the next best thing: cheeky bikini bottoms! So here’s a simple solution: DIY Bikini Ruching. If I would’ve done it right the first time, the whole process would have only taken 15 minutes. But, that wasn’t the case for me. IMG_20130527_212224_529 IMG_20130527_213114_844 IMG_20130527_220454_755 IMG_20130527_223201_300 IMG_20130527_223311_346To start you will need a pair of bikini bottoms of your preference, a needle, thread the same color as the bottoms, a pen and scissors. The first time I attempted this, I only used one thread and it broke instantly. The second time, I used 2 threads and it lasted up until I tried them on and adjusted them, and then SNAP! That broke too…..so the third times a charm! I tediously fit THREE pieces of thread through that itty bitty needle hole (successfully) and start my sewing. Before I add any extra details, let me tell you the step by step process:

Just underneath the tag, make a tiny dot with your pen about ¼ of an inch away from the top seam. Continue drawing little dots straight down the middle a ¼ inch spaced between each dot. This is so you know where to put your needle. You can make the dots thinner or wider apart if you’d like depending on what you want it to look like. (The longer the distance, the bigger the ruch.)

Put your 3 threads (or 1 thick piece of thread if you have any [about 10” in length]) through the needle and tie a knot at the bottom.

Starting from the INSIDE of the bottoms, poke the needle through the top seam so the needle comes out on the outside. Then poke it back through down to the next dot. Do this consecutively until it’s at your desired ruch size. You can test this by pulling the threads to see how much up they will go, then pull the bottoms back to continue if needed. If it’s too much ruched, take out a dot or two. If it’s not enough, continue the process by poking through more dots.

When finished, cut the thread AT THE VERY END BY THE NEEDLE so you have plenty of string to use to tie the end knot. After you cut the thread by the needle grab three threads in each hand and tie 3 good, tight knots to secure the ruch. Cut the excess thread and viola, you have brand new cheeky bikini bottoms! FOR FREE (:

IMG_20130527_225734_466

Girly Toes: Rhinestones, Bows & Pearls!

16 Mar

2013-03-06_22-02-49_441Here are my pretty bow toes! They are so girly and I love it! (:

I painted all my toes with two coats of Ruby Kisses French White. Then with one coat of silver sparkle polish by Pure Ice. I then used my large dotting tool to make sideways hearts to form the bow ties with pink polish, and then used my smallest dotting tool to drag out the ribbons. Next time I will use a toothpick so they’re not so rounded! Finally I added a large rhinestone in the center of my bows, a large pearl on one side of the ties, and two smaller rhinestones on each side of the pearl, finishing them off with a clear coat.

Pink Cheetah Nails

14 Mar

2013-03-06_22-42-16_705These are my super adorable nails that I painted for my maternity shoot! They are pink cheetah designed with a splash of gold. I used Nicole by OPI – Still Into Pink, Nicole by OPI – Dazzle Dazzler (Black), Sally Hansen’s – Golden I, and Sally Hansen’s Clear Base and Top Coat. First I painted all my nails pink except my ring fingers, which I painted gold. I then used my dotting tool to paint gold dots on my middle fingers and pink dots on my ring fingers. Then I used my nail brush to draw black lines around the dots, creating the cheetah print. I also used a toothpick to draw smaller lines on some of the smaller dots. Last I used the brush to make offset black dots to make the print look even more real, finishing them off with a clear coat. The design was very easy and took no time at all to draw! I probably spent a total of 35 minutes including drying time. (:

2013-03-06_18-46-03_997

2013-03-06_22-41-58_545 2013-03-06_22-41-37_777 2013-03-06_22-41-24_289

BTW: I saw a couple of pins on Pinterest related to nail tips. I tried two of them which one worked and one didn’t.

#1: Cooking Spray Instantly Dries Nails – TRUE! It definitely did the trick for me and protected my nails from getting damaged, creased or cut into.

#2: Vinegar Makes Nail Polish Last Longer – FALSE! It did not make my nails last any longer than they would have if I would have painted them without the vinegar. They say you’re supposed to use a cotton ball, soak it in vinegar, swipe it across your nails, let it dry, and then paint over them. This did not work for me. I think it nail polish lasting just depends on the kind of polish you use and how often you use your hands. If you wash dishes constantly, and put things together and use your nails to do things on the regular, your nail polish simply just won’t last that long. However if I find something that actually works, I will let everybody know! (:

DIY Towel Travel Case

12 Mar

This is my super cute travel case to carry my tooth supplies.
Props go to Pinterest. (:

IMG_20130306_011127
I used a small pink hand towel, folded it about a third of the way up, tag inside, then sewed 2 pieces of hot pink ribbon into the seem of the left side of the towel sewing all the way down to keep the section closed. Then I sewed the same pattern 3 more times creating 4 sections to hold all my teeth cleaning supplies. This project took a total of 60 minutes to make and it’s very useful. It can store all your toothbrushes and other tools you use, it keeps everything dry , it’s not nasty like those cheap plastic toothbrush covers that eventually mold your toothbrush and make it stink, and it’s washable! You can make them look so cute too! Just pick a pretty bright colored towel and a matching ribbon with cute designs and then you have everything you need to make your own personalized DIY Towel Travel Case!

Baby Keepsake Box

4 Mar

This is my newest baby project: Natalia’s baby box. I decided to make her a box that would contain all her keepsakes as memoirs. I wanted to decorate it to match her nursery which is all zebra print with light pink and dark pink polka dots. This is the completion of it & I think it turned out 10x times better than I imagined in my head! Even though I sketched it before hand. ;D

This is the second box that I’ve decorated and I did a wayyyyy better and faster job on this one than my first. It only took me 3 days to complete, but only because I had to wait to go to the store to get the rest of the supplies I needed. When I made my first box, I googled “how to decorate a box” and was disappointed not to see too many instructions on how to do that. So I am going to make my own instructions on box decorating!

  1. Brainstorm! The first step is to think about what you want to have a box for of course. It could be to store things in, to give as a gift, or simply just for a decoration project when you’re bored!
  2. Decide what size box you need/want, and go get it! I knew I needed a big box because I was going to store an entire baby book along with other bulky items such as her homecoming outfit and things of the like. I got my box for free at a shoe store because buying a big box would just be too expensive, and they are usually already decorated. What’s the fun in that?!2013-02-28_11-50-52_524
  3. Sketch a drawing of what you imagine your box to look like. I always think before hand to save time. I sketched how I wanted the box to look like, what kind of fabric I would use, the colors, the accessories, and the font for the lettering.2013-02-25_18-53-24_43
  4. Shop for supplies! This is my favorite part (;
    Buy everything you will need to make your box. I went to Walmart and bought zebra and polka dot fabric ($8), 3 packs of assorted pink buttons ($6; $2 ea.), a pretty pink bow clip in the children’s section ($1), and then went to Save A Lot for fabric glue ($2) because it’s just cheaper there. The other supplies, I already had, which include a sharpie, a pink marker, and card stock to draw the name, loose black glitter, Elmer’s glue, fabric scissors, and zebra duct tape ($3.50).2013-02-28_11-52-31_53
  5. Measure and cut fabric to size of the box. I bought such a large piece of zebra fabric that I didn’t have to do too much cutting and it turned out looking so much better than if I would have had to cut it to fit around the corners because it wrapped around perfectly (conveniently for me). I started by gluing one side at a time and letting it dry before I went on to gluing the next side, this way when I pulled the fabric around the corner, I wouldn’t move the fabric I just glued out of place. Make sure you glue the very outside edges of the inside and the outside of the sides of the box. Otherwise, if you just glue the insides, you will have to come back around and glue the outside, but it will be hard to lift the fabric because it will already be glued around the box.2013-03-03_22-41-56_973
  6. To give the bottom of your box a neat finish, fold the fabric as if you were wrapping a preset box and glue the trim down and hold it in place until it’s somewhat dry (It will completely dry on its own, but this makes the fabric completely flat because the glue will seep through the fabric).2013-03-03_22-10-35_291
  7. You can use the same technique to fabric the lid, but the lid is easier because you can glue the edges of the top, place the fabric, let it dry, and then one by one glue each side down, folding the corners inwards to make it look neat.2013-03-03_22-41-29_272
  8. Cover the bottom of the inside of your lid and box. I used the pink polka dot fabric to cover the inside of the lid, and zebra duct tape to cover the inside of the box. I used tape because it was easier to make stick, it would hold the bottom fabric in place and it looks good! I used the pink on the lid because I wanted it to be different. 😀2013-03-03_23-52-34_582013-03-03_23-52-11_657
  9. Lastly, decorate it however you like! I cut a smaller sized square piece of the pink polka dot fabric and glued (just the edges) in the middle top of the box lid. I then drew Natalia’s name in cooky, child like font letters. I used the elmer’s glue to glue a trim on the outside of the card stock and sprinkled glitter all over it to give it a cute border. Then I glued the pink buttons on the border of the pink fabric, after I arranged them to make sure they would all fit. I glued the pink box in the corner and then her name in the middle. Finally finished! Although I still want to get some black sequin ribbon to glue on the inside of the lid to border the pink fabric under there, but for now it looks good, and the ribbon can wait until next time I go to the store.2013-03-03_23-49-39_132 2013-03-03_23-51-00_12

    2013-03-03_23-52-56_433

How To Make Your Own Baby Shower Decorations

28 Jan

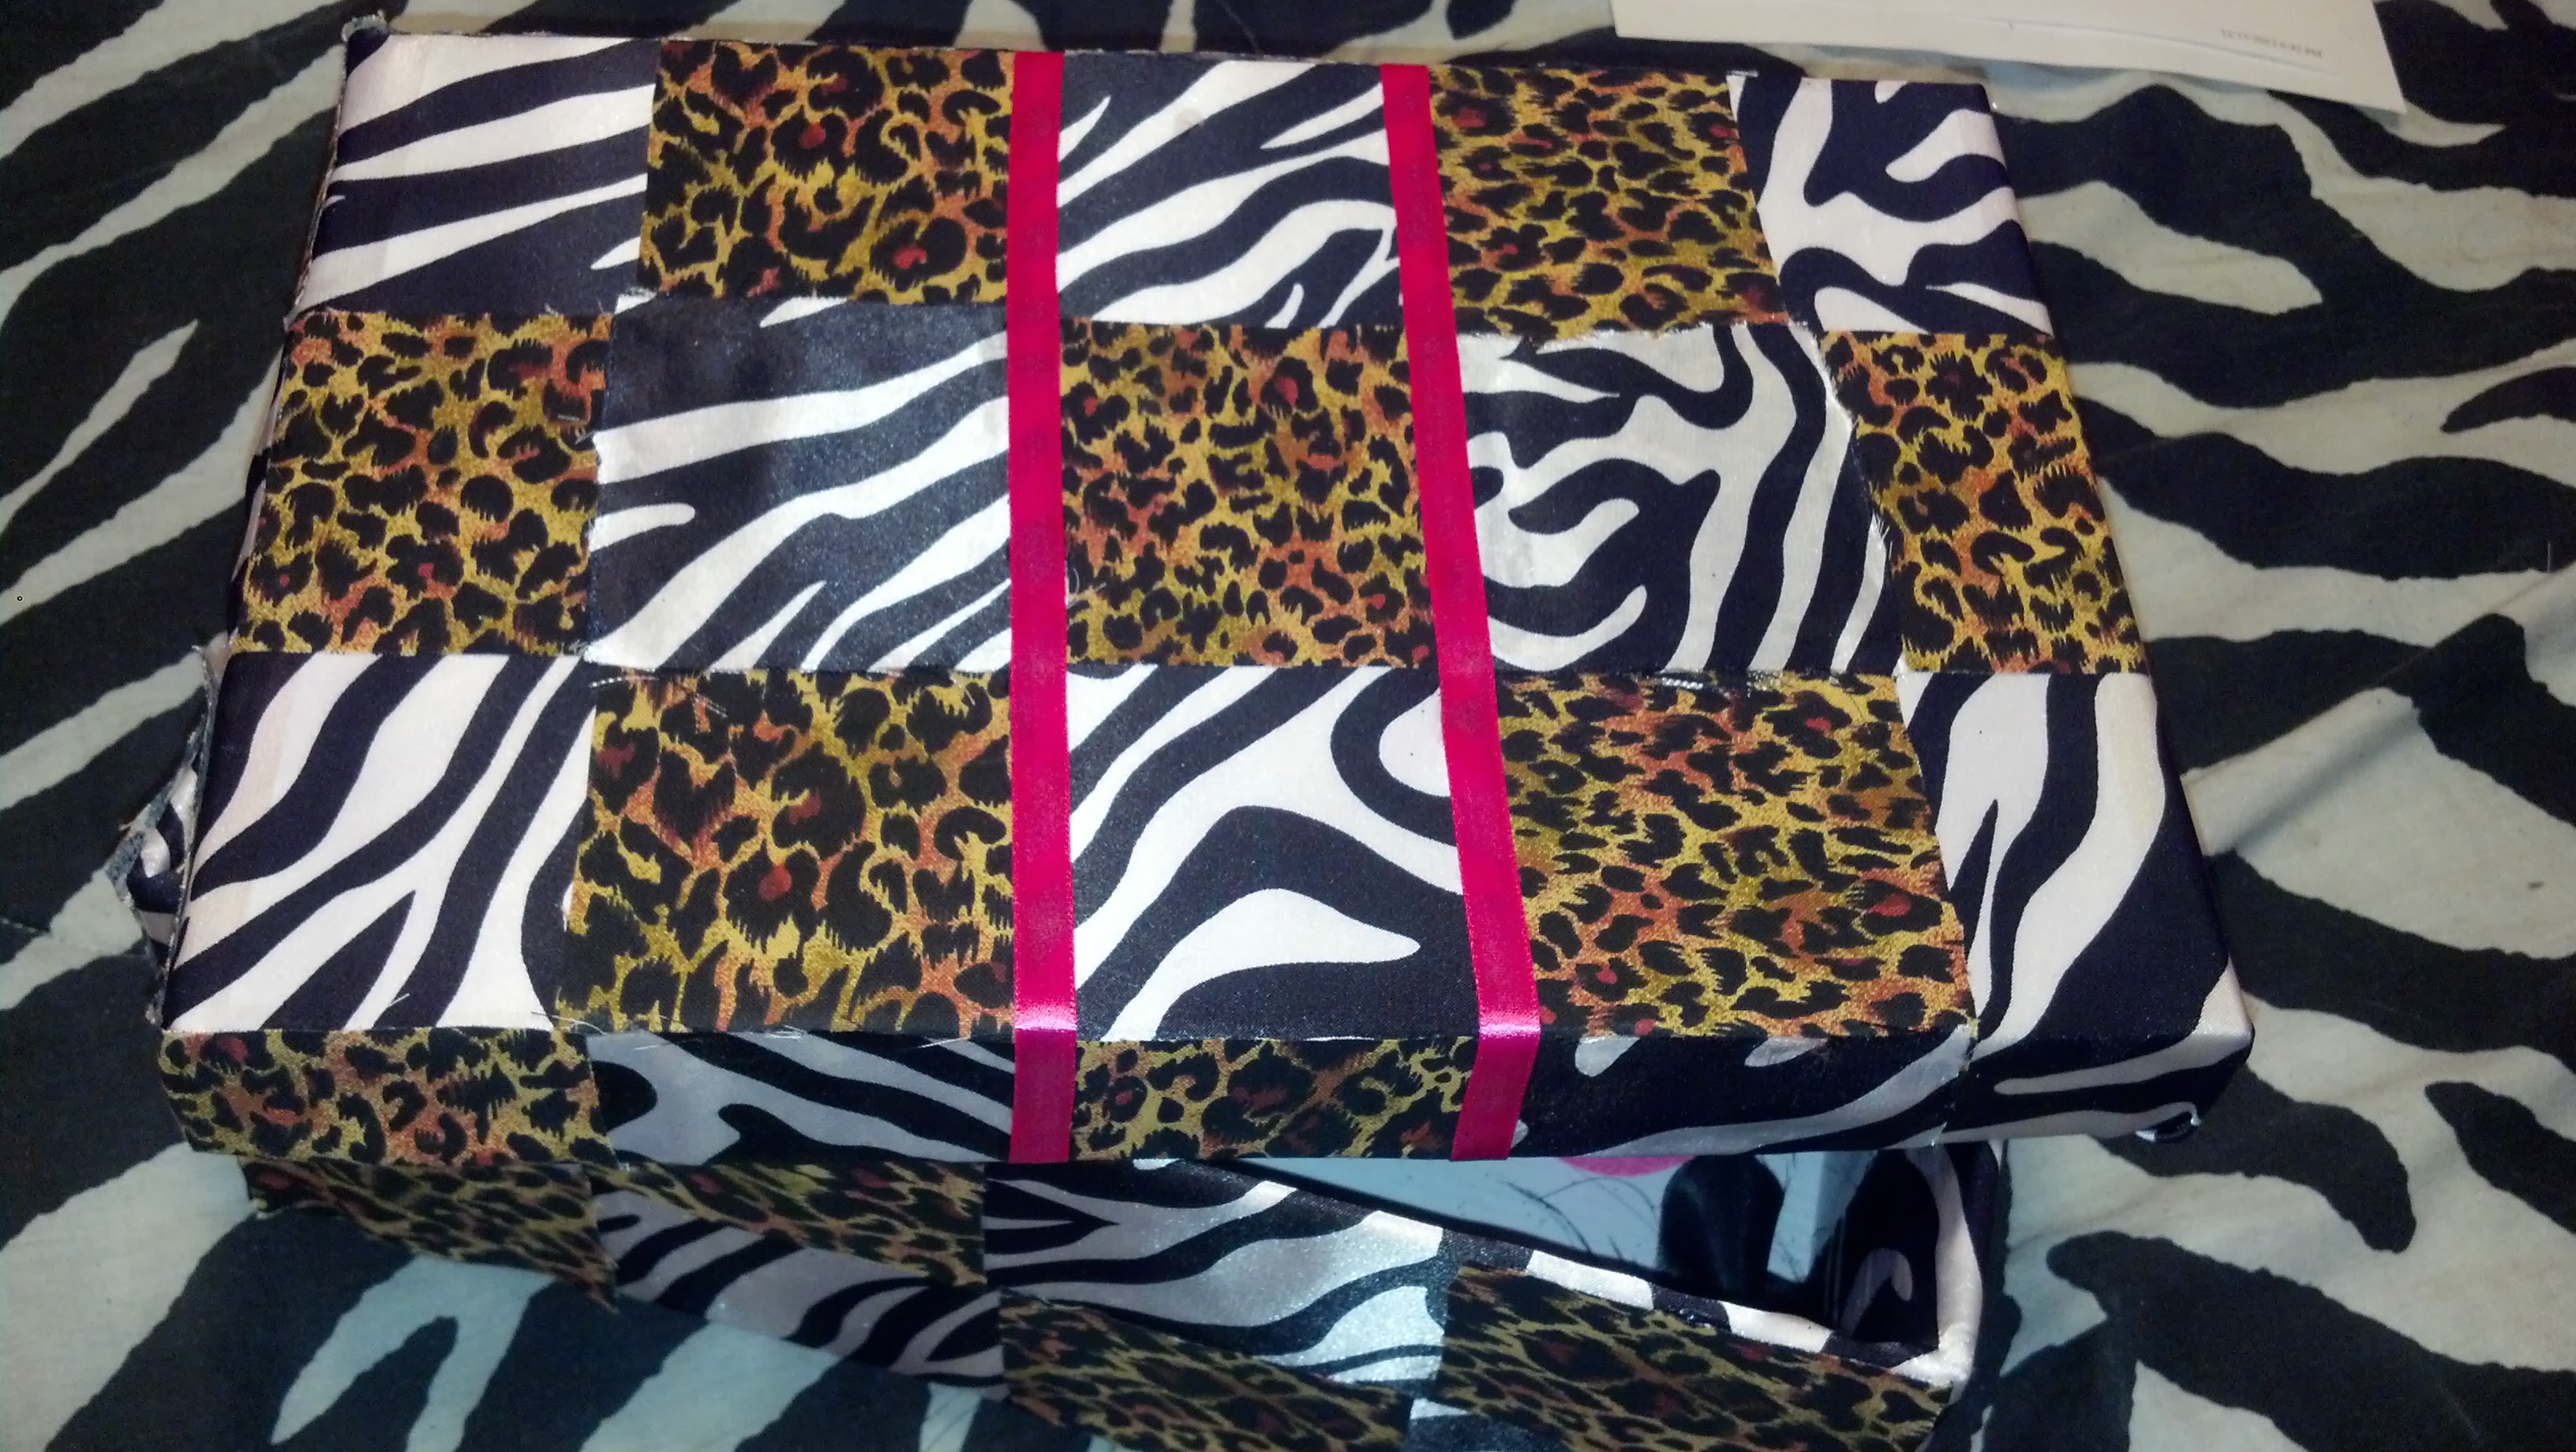
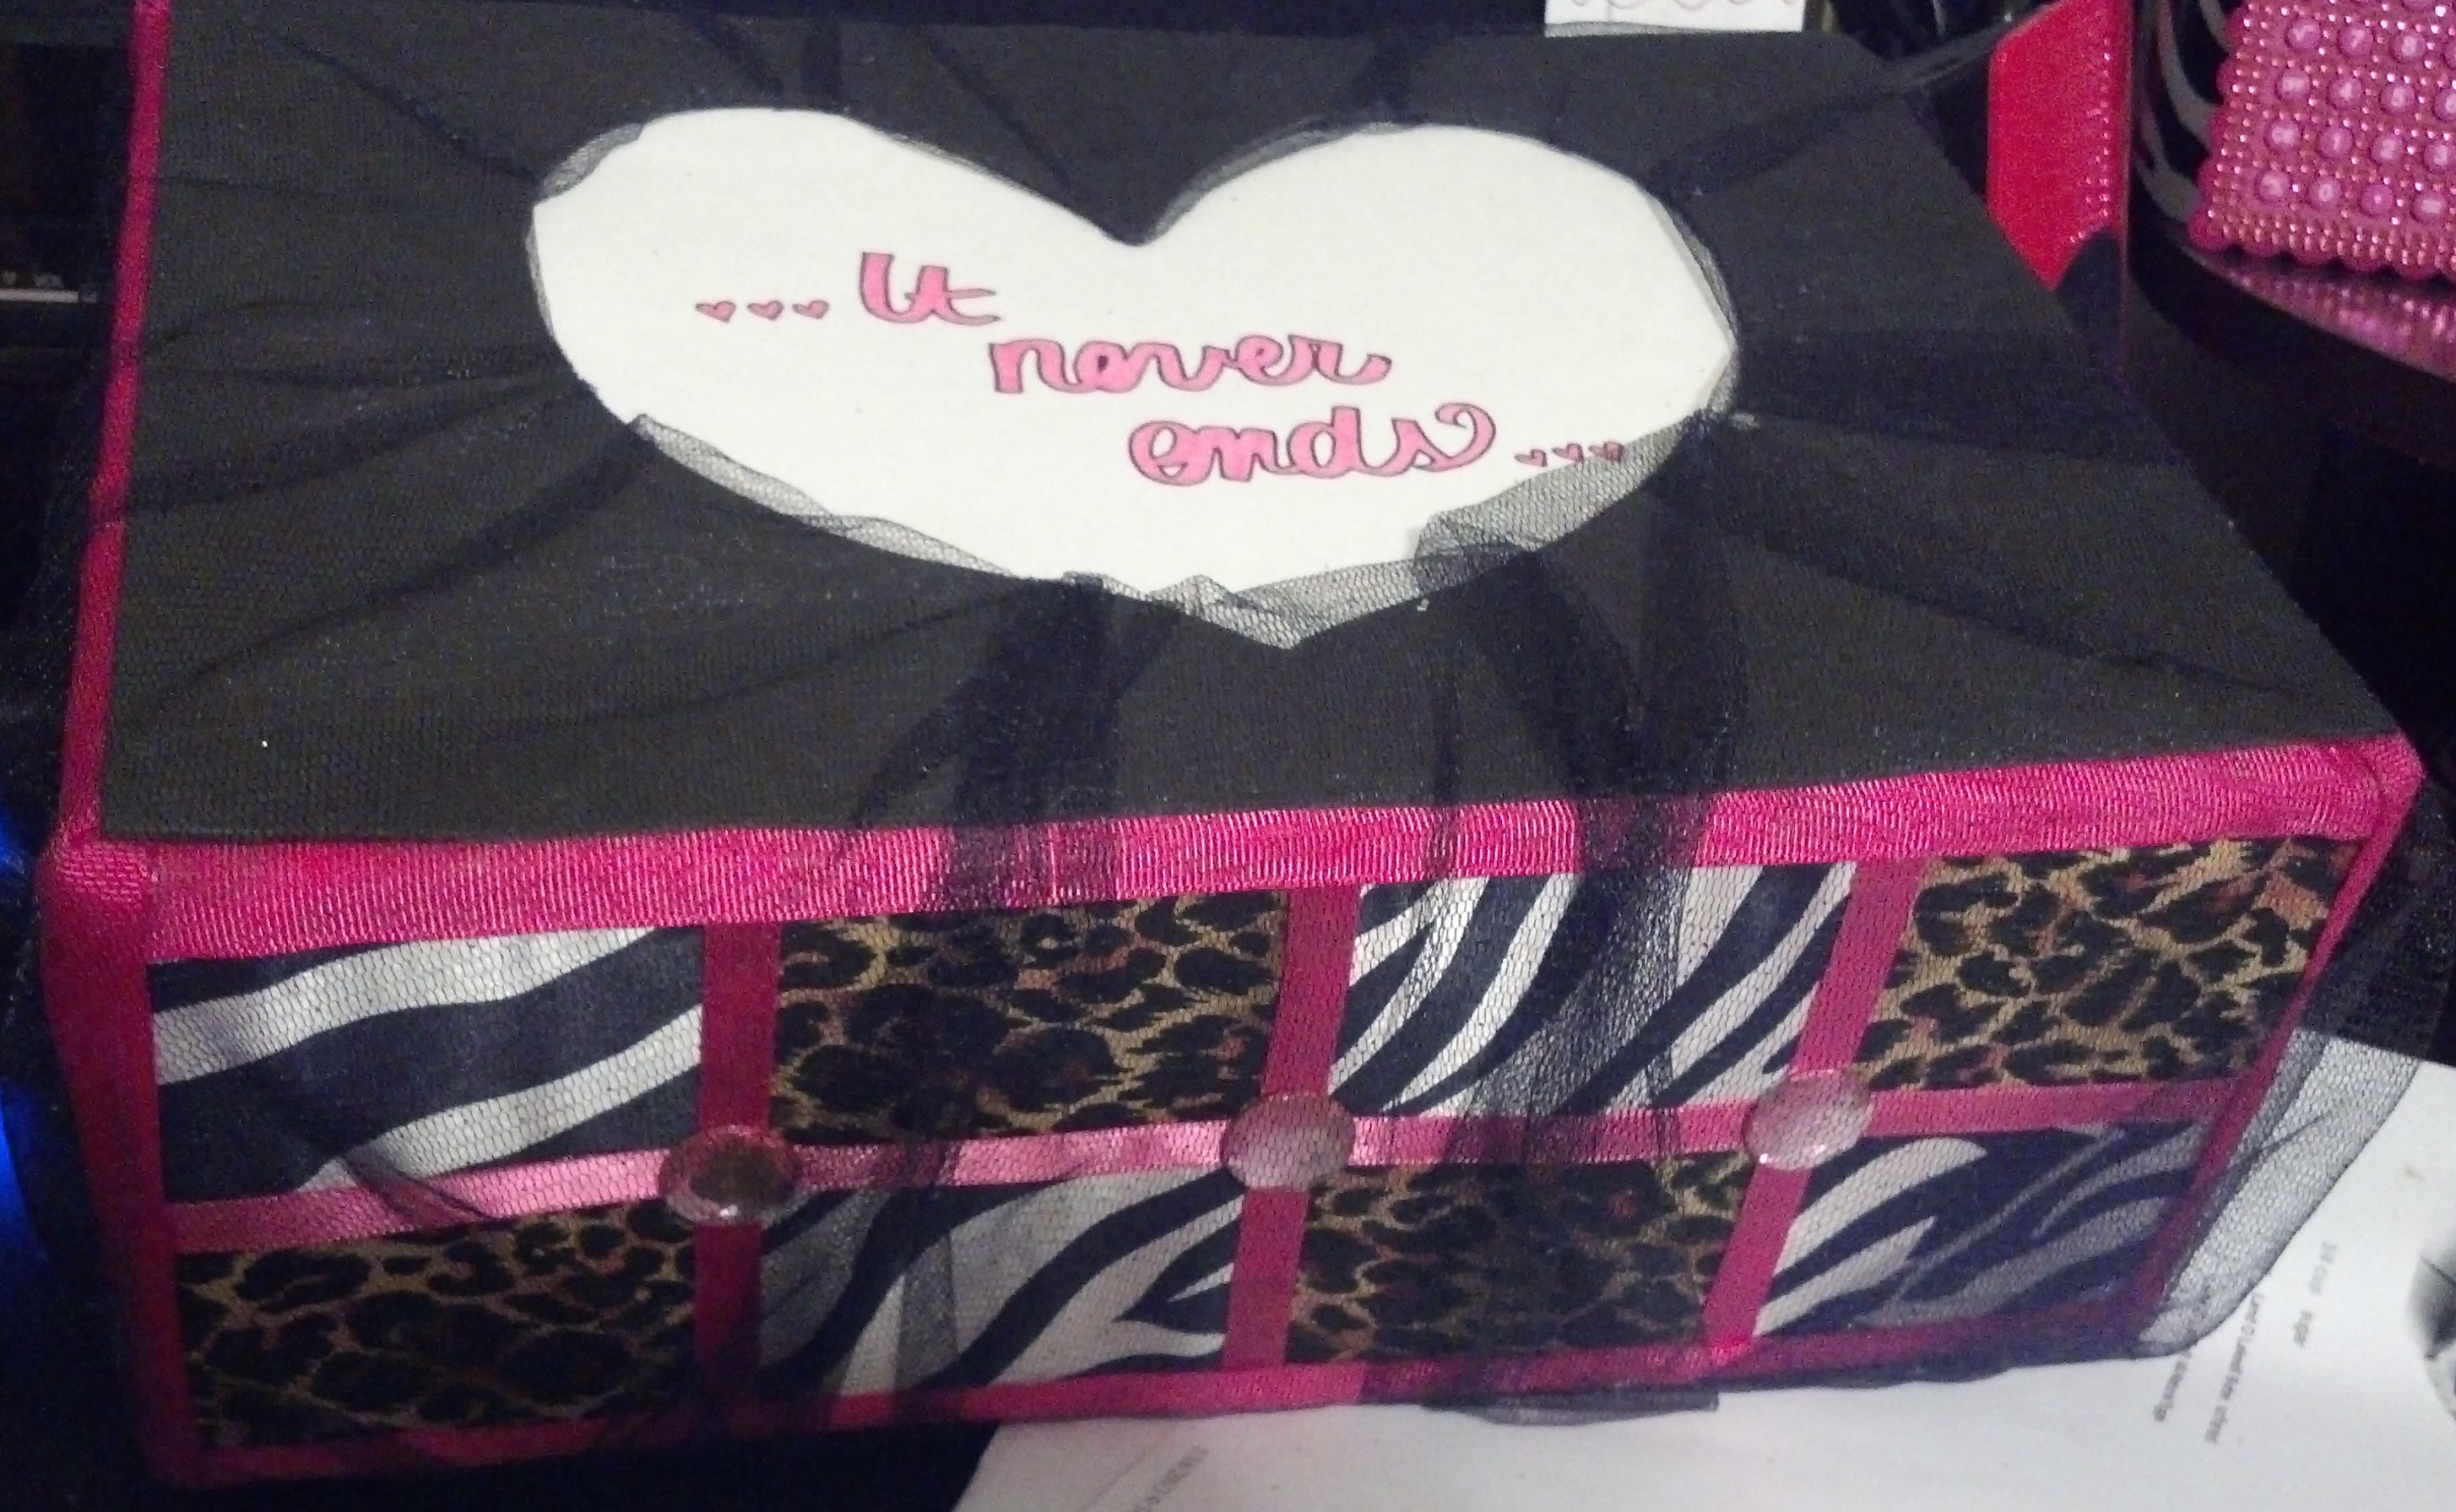
To save myself money, and to express some creativity, I decided to make my own decorations for my baby shower. I already blogged about my baby shower decorations on a different post, but on this one I’m going to explain exactly what I used and how to make what I made. (:

First, I googled some baby shower decoration ideas and came across quite a few inspirational ones. The first one I like was this gorgeous brooch that I found on Google Image Search, but for some I cannot seem to find the photo on the search engine anymore. and I didn’t save the link, just the picture. Anyways, I thought it was the cutest brooch ever and it was the perfect theme of my baby shower: pink and zebra. So I went to walmart to get a bunch of supplies to make this. Mine looks very similar to the picture I tried to follow, but I added my own extra girly touches to it and made it look fabulous. I made two, one for me and one for my mom. (:

2013-01-22_22-38-27_8122013-01-22_22-57-39_942

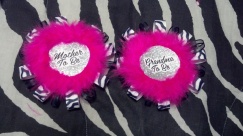
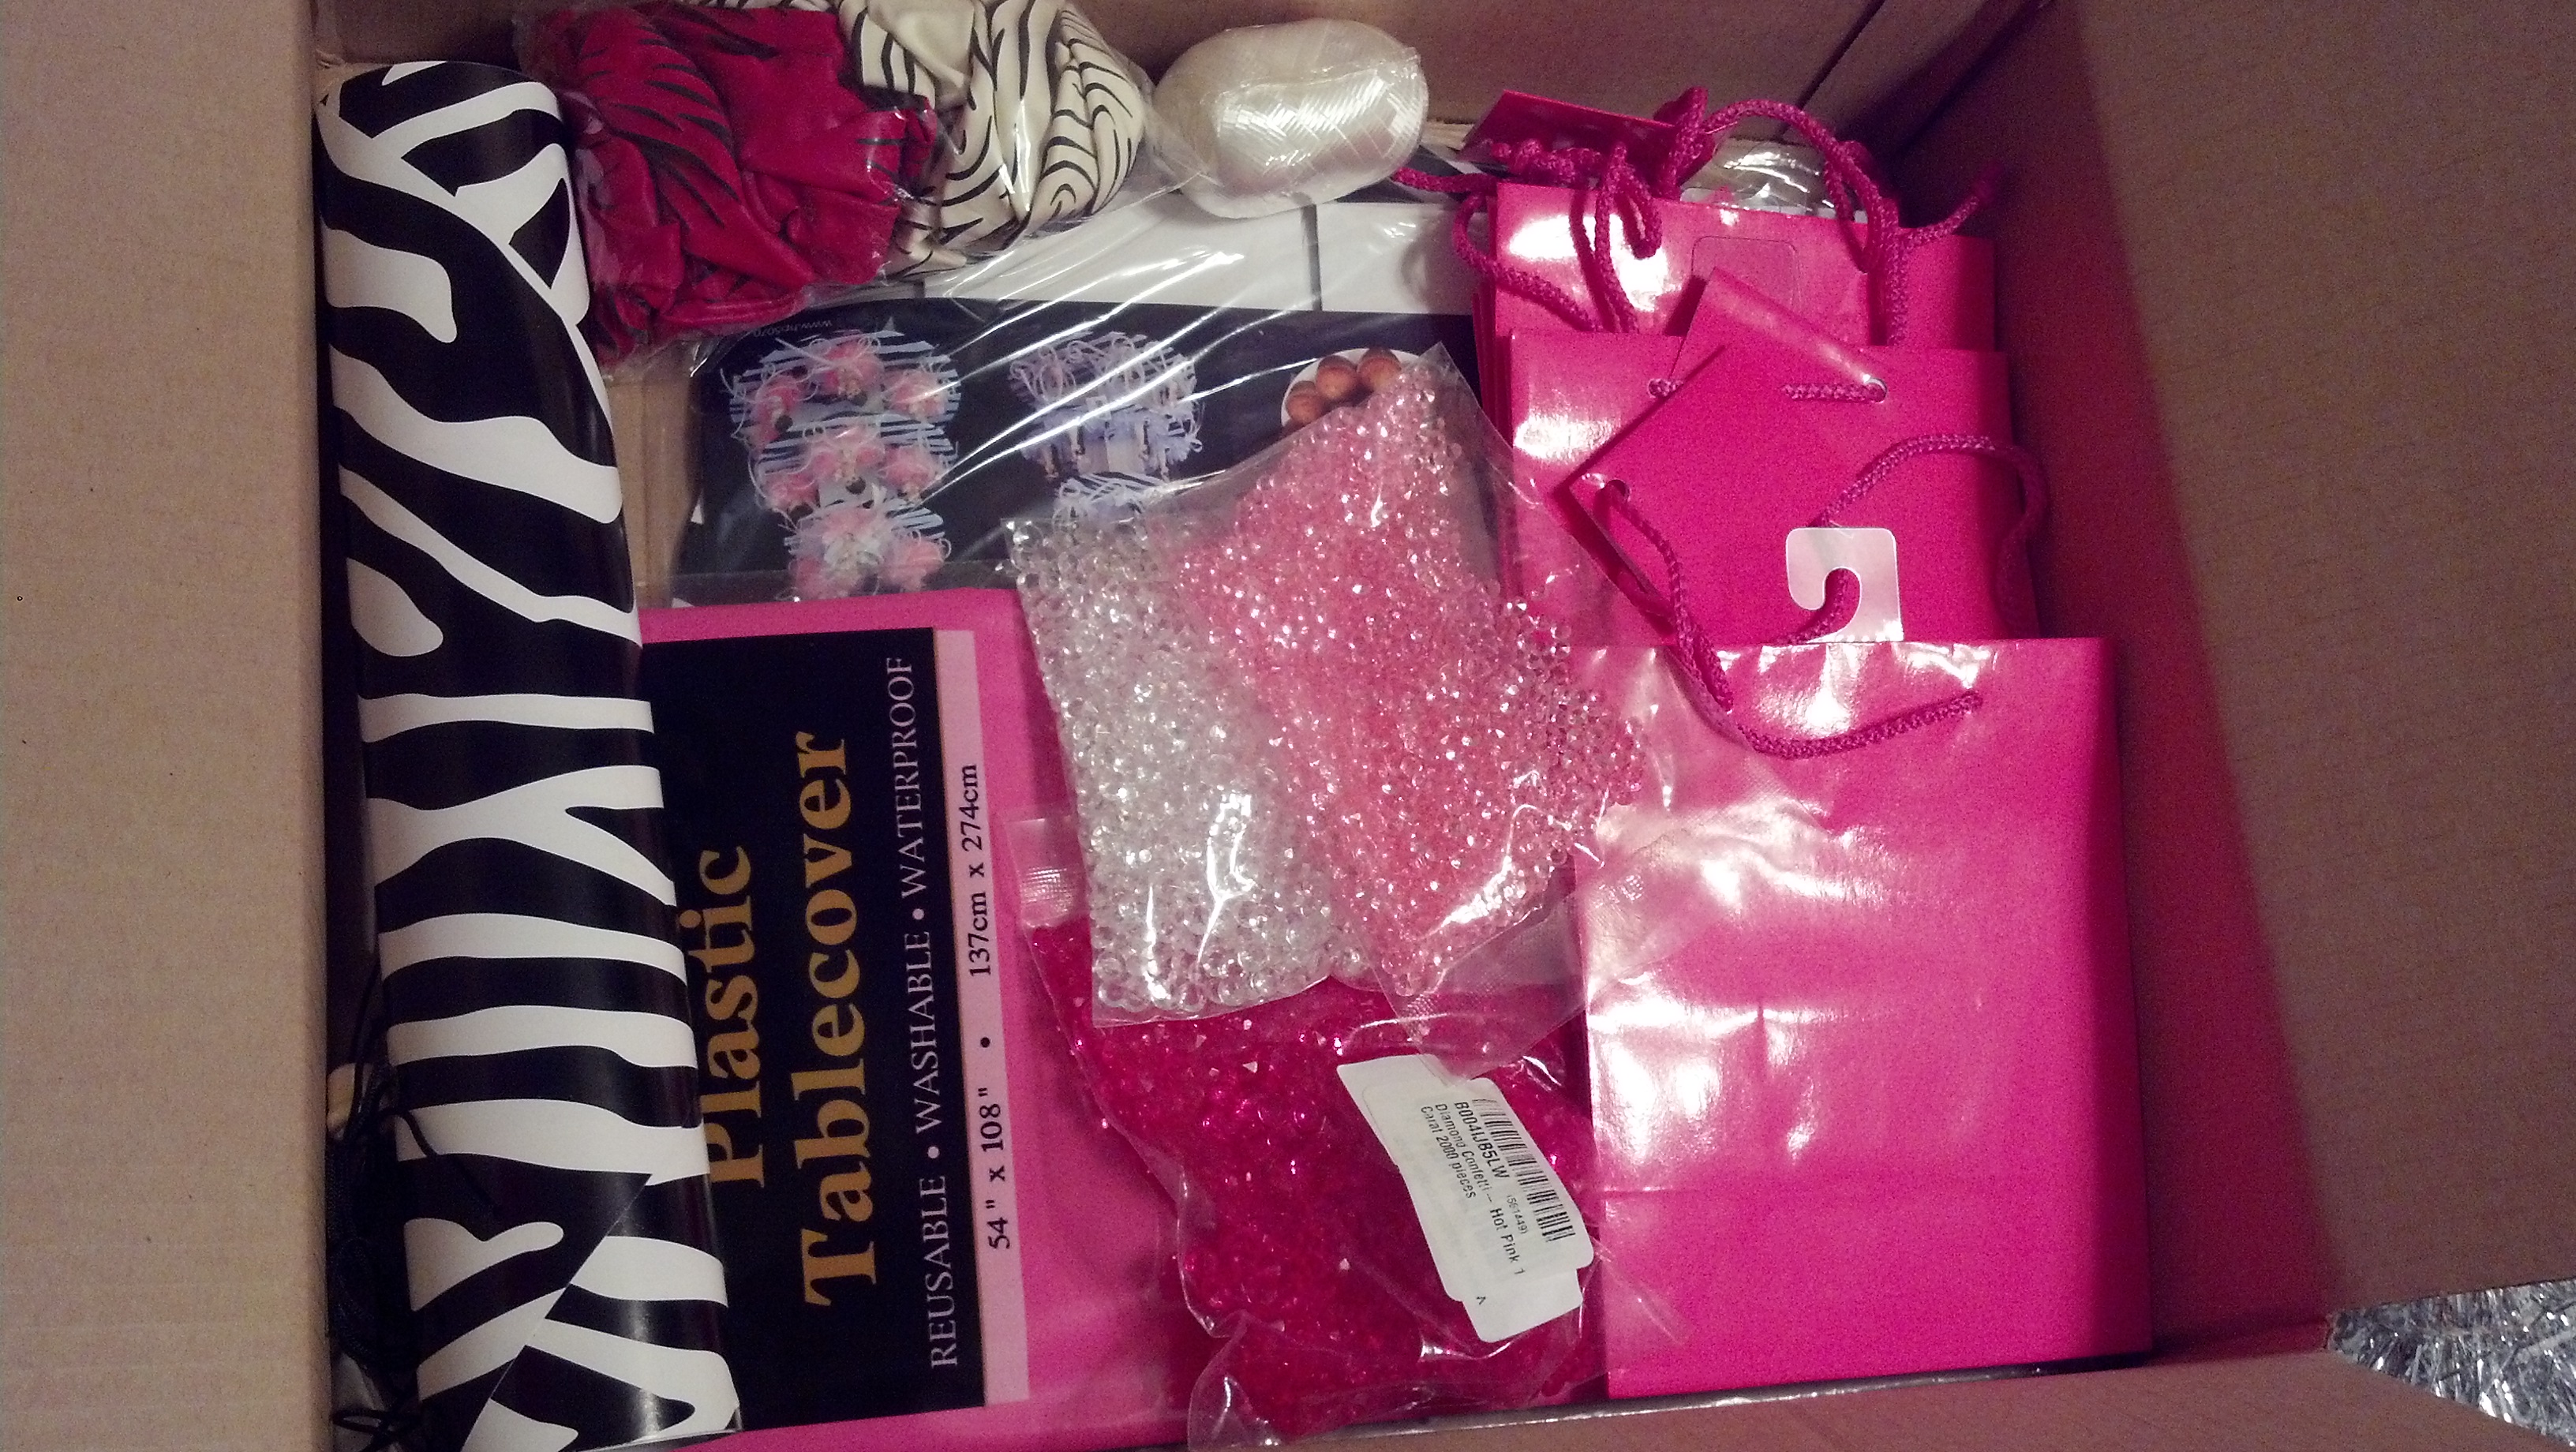
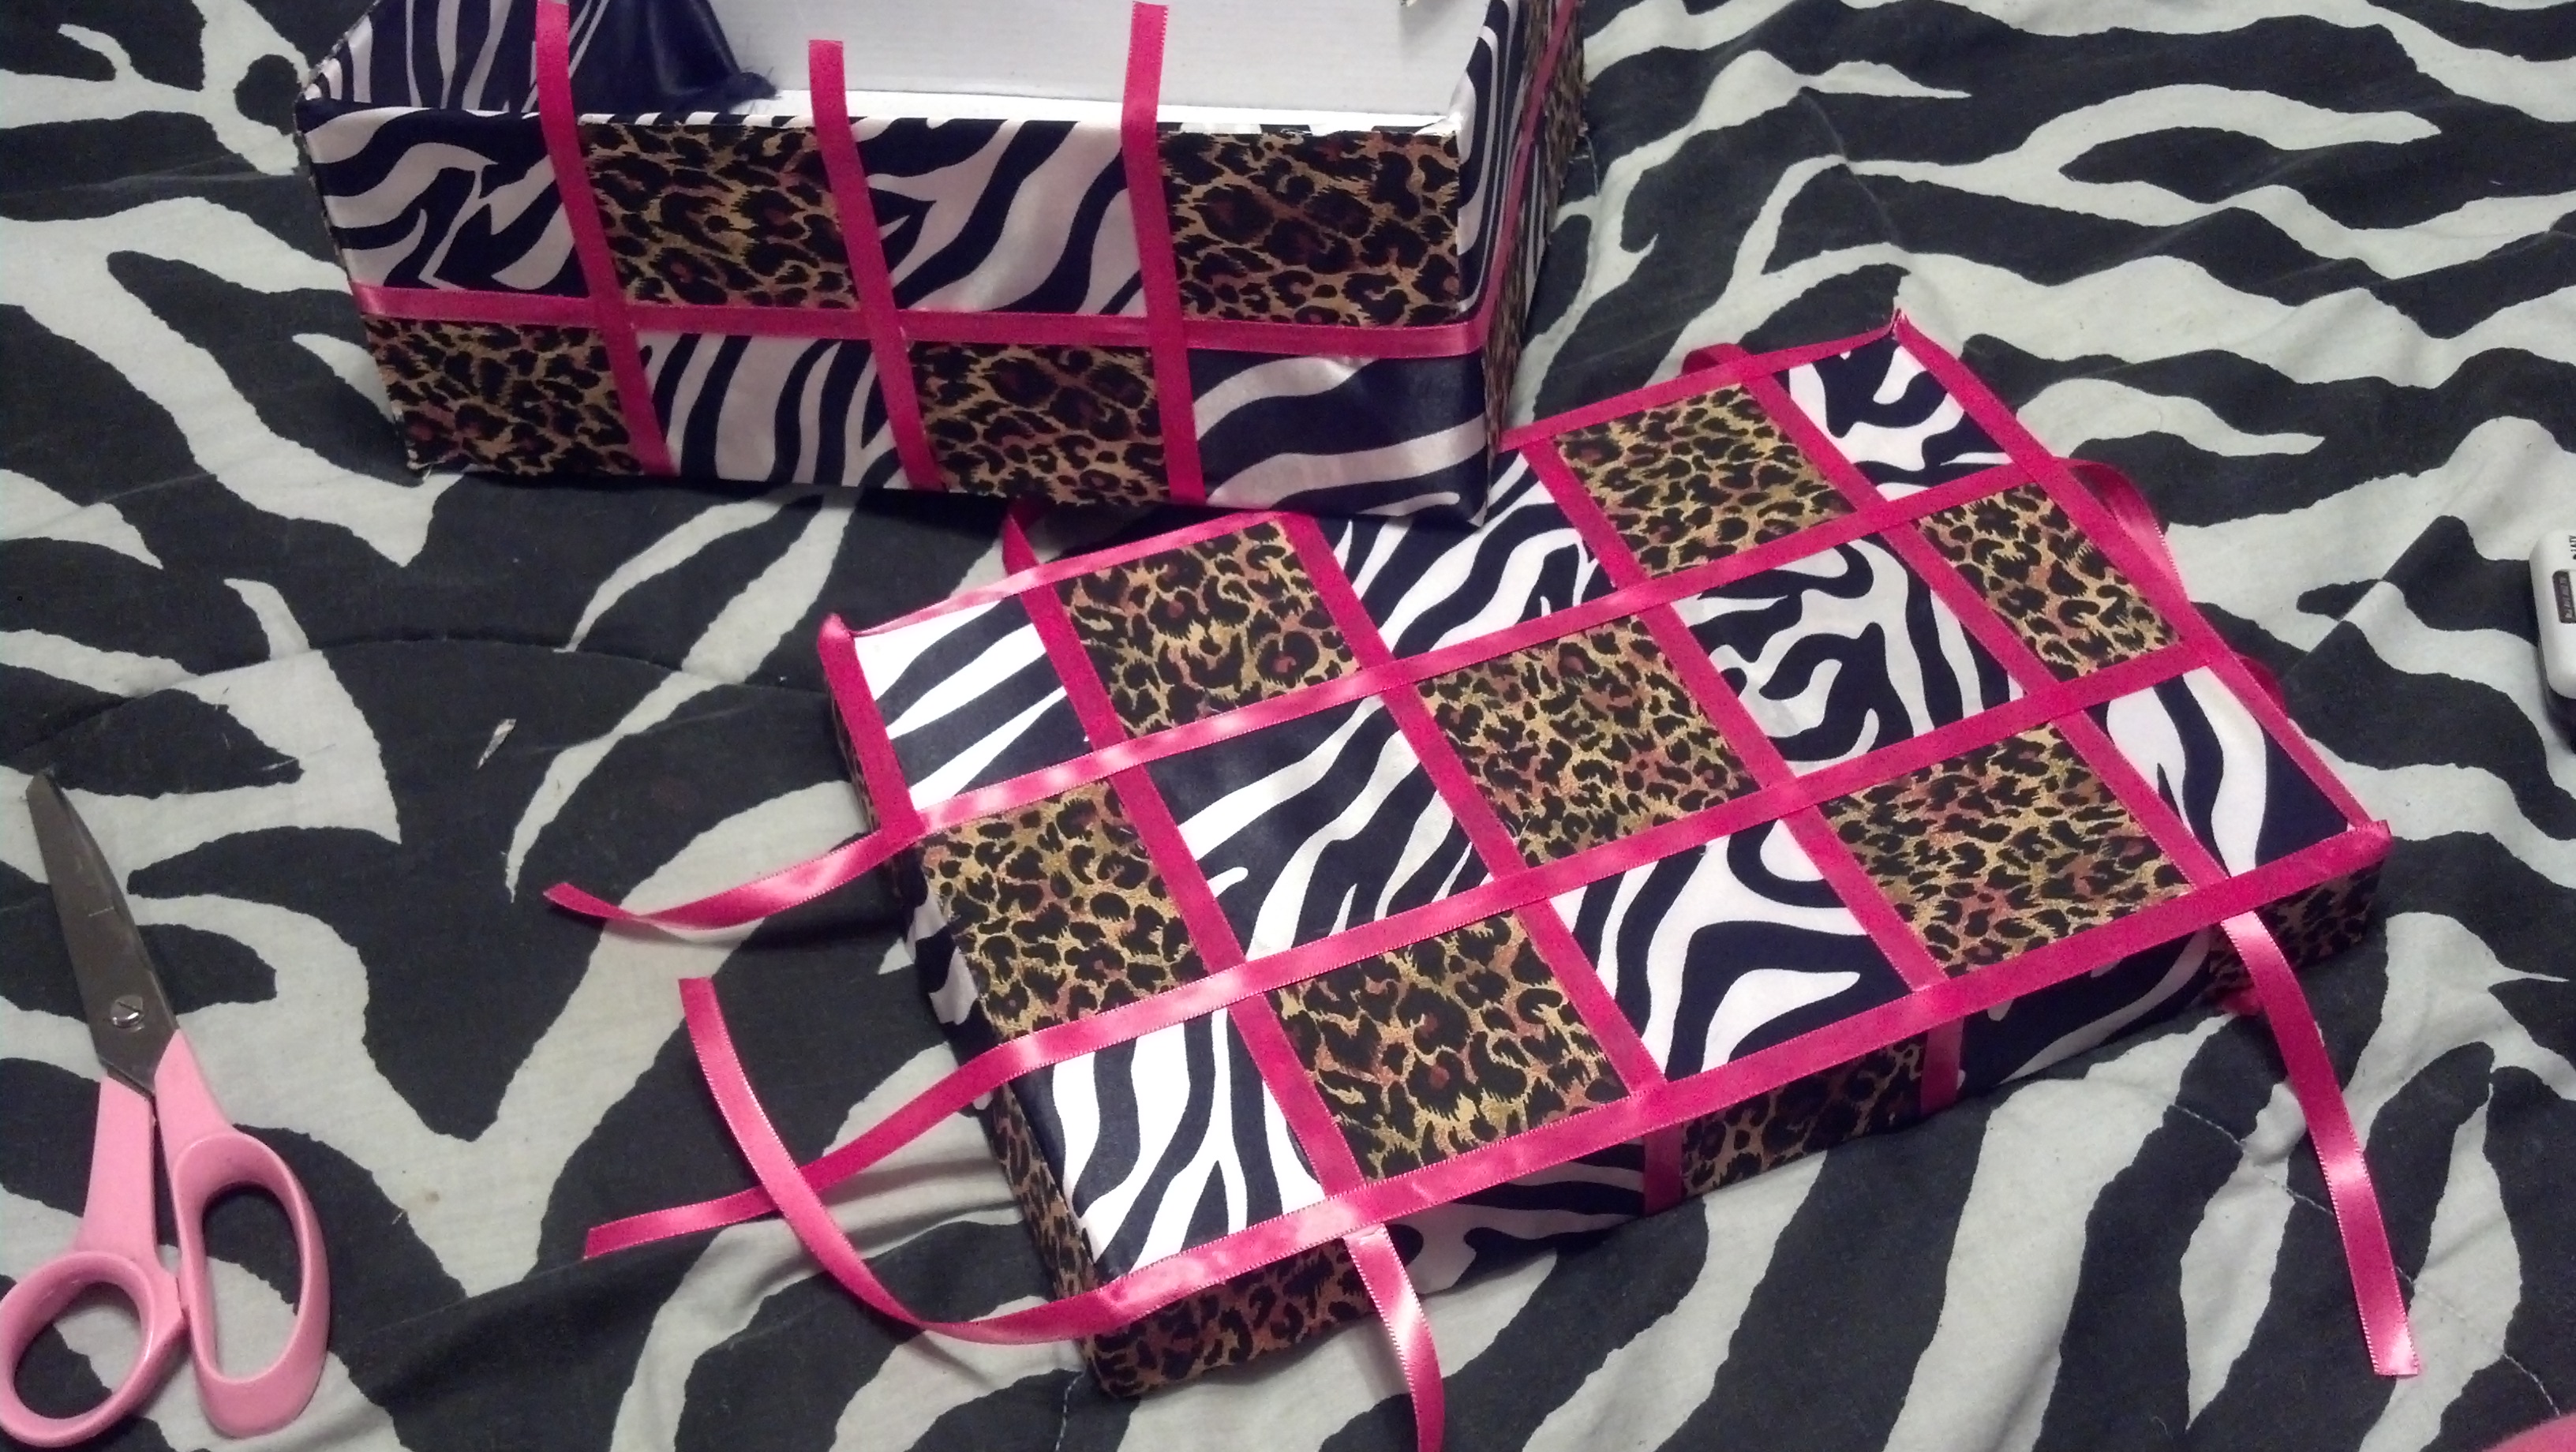
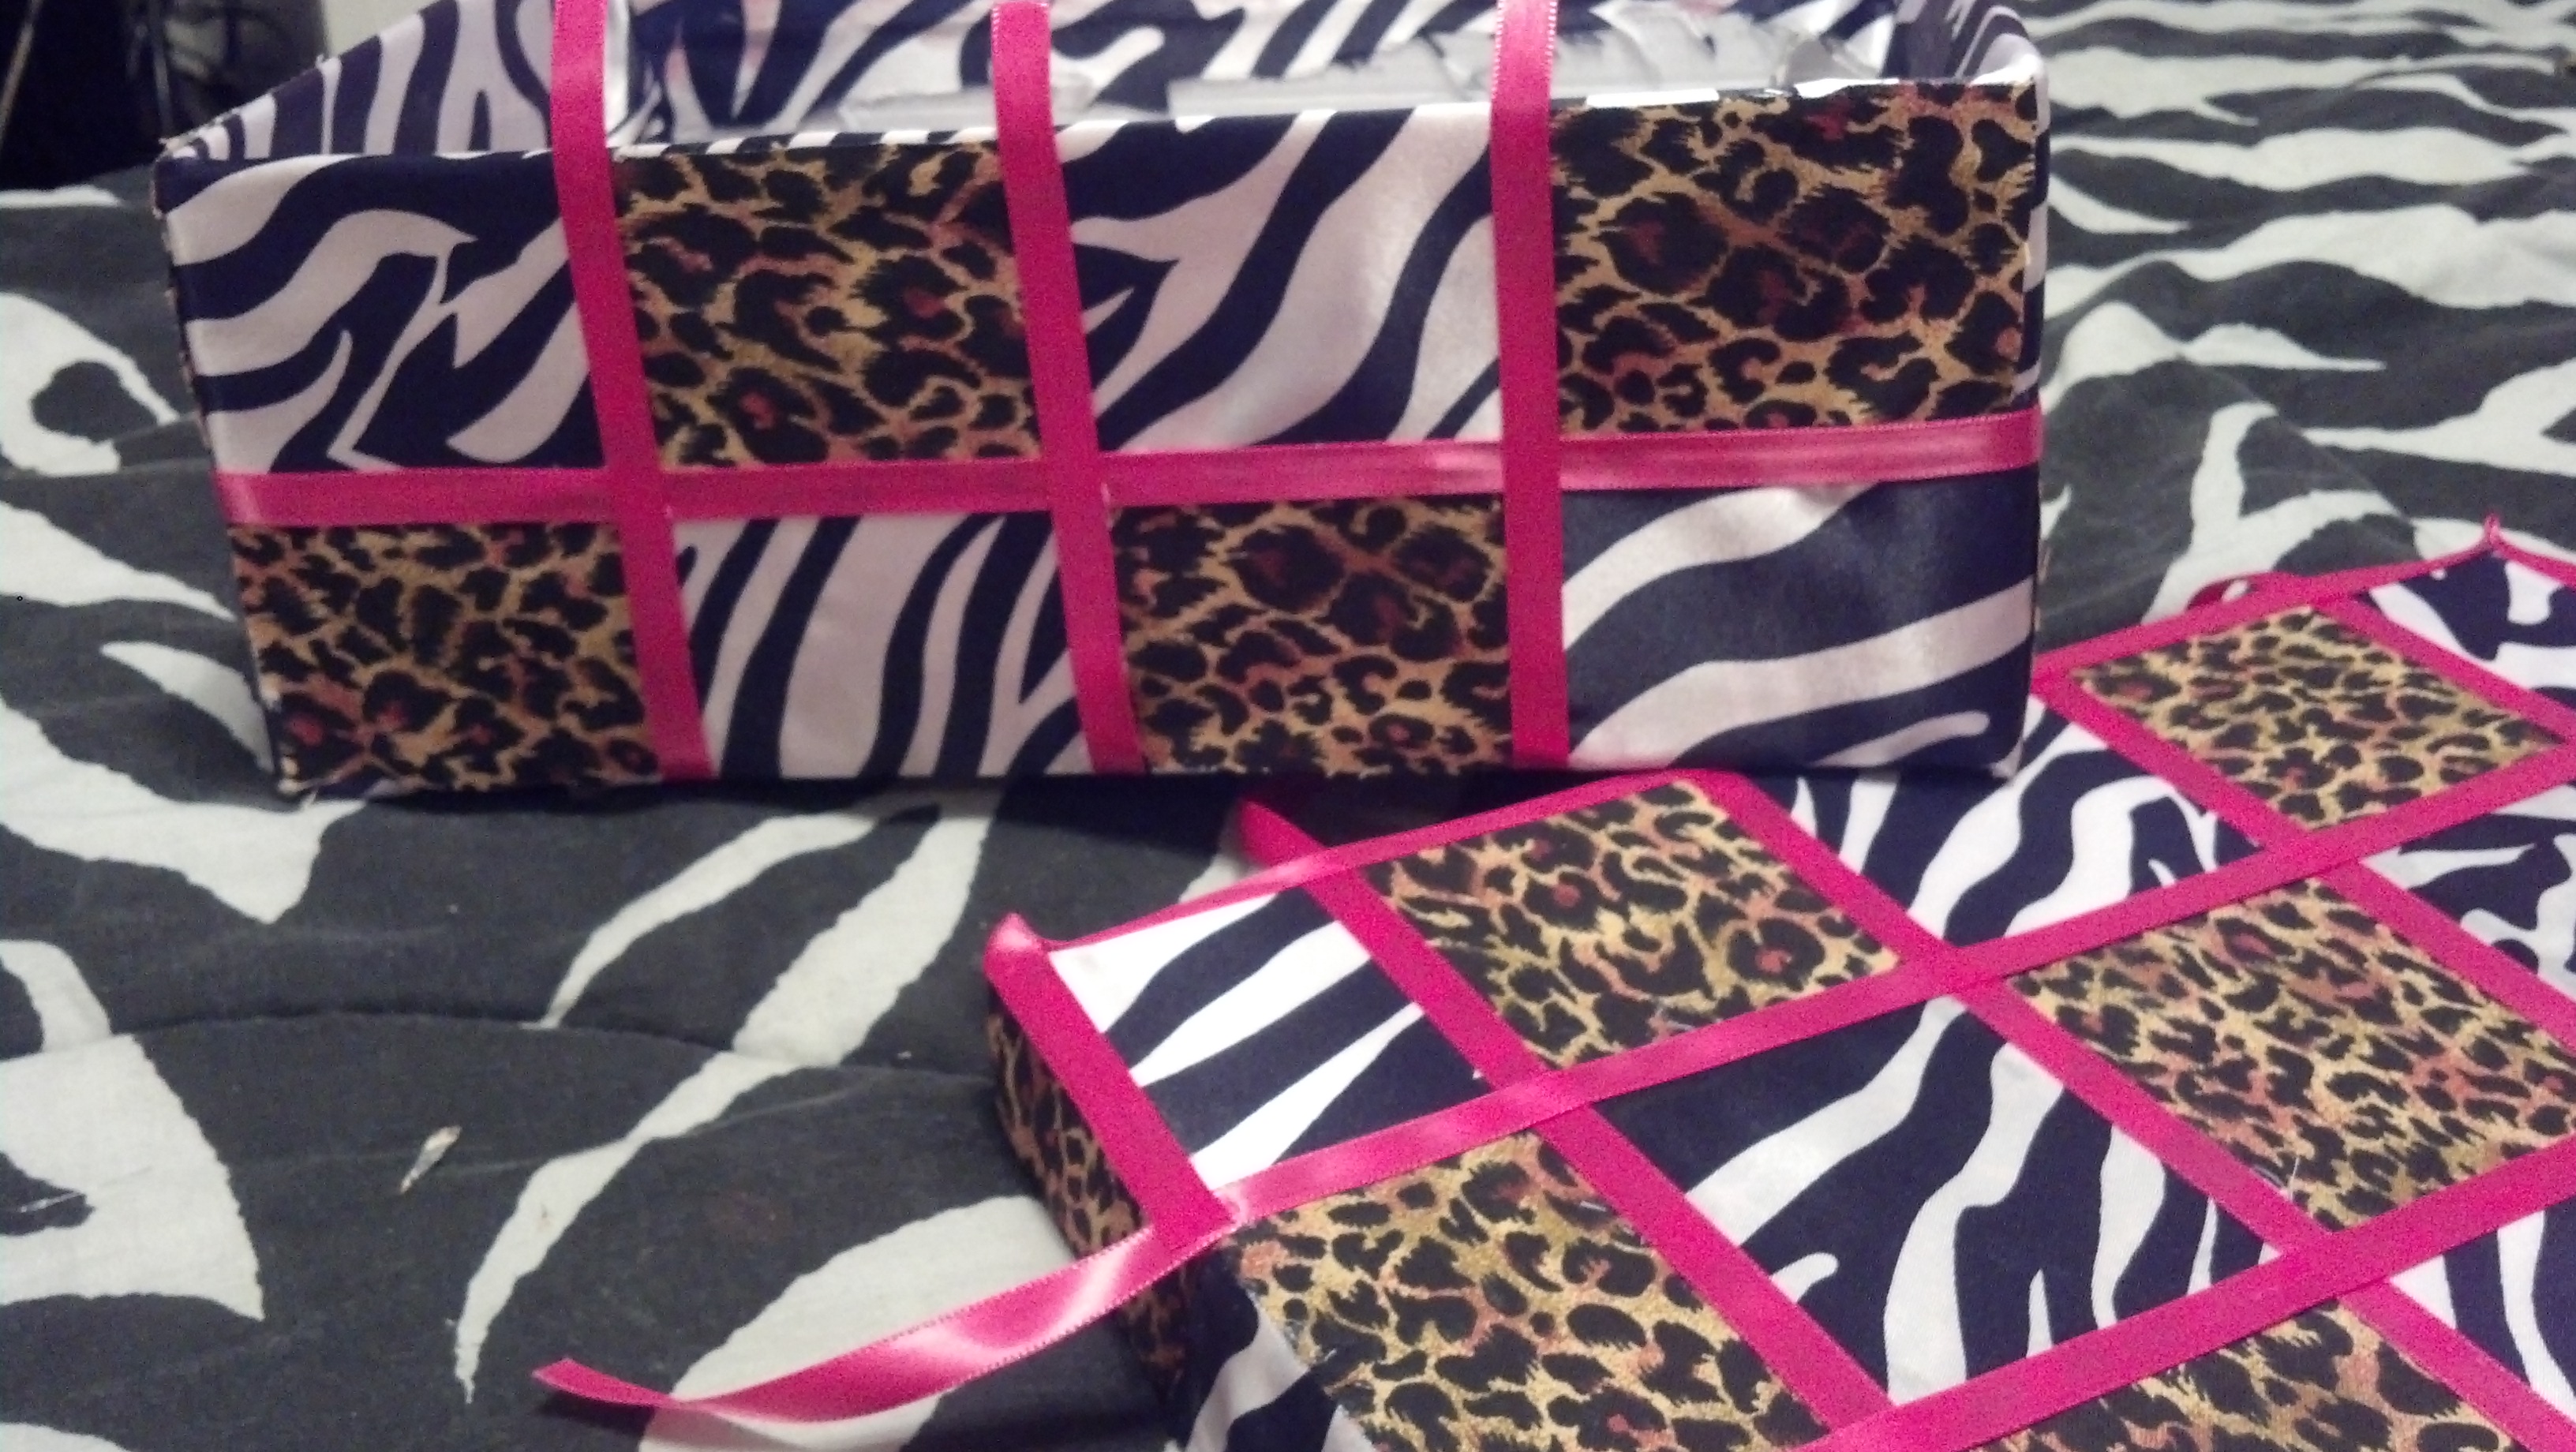
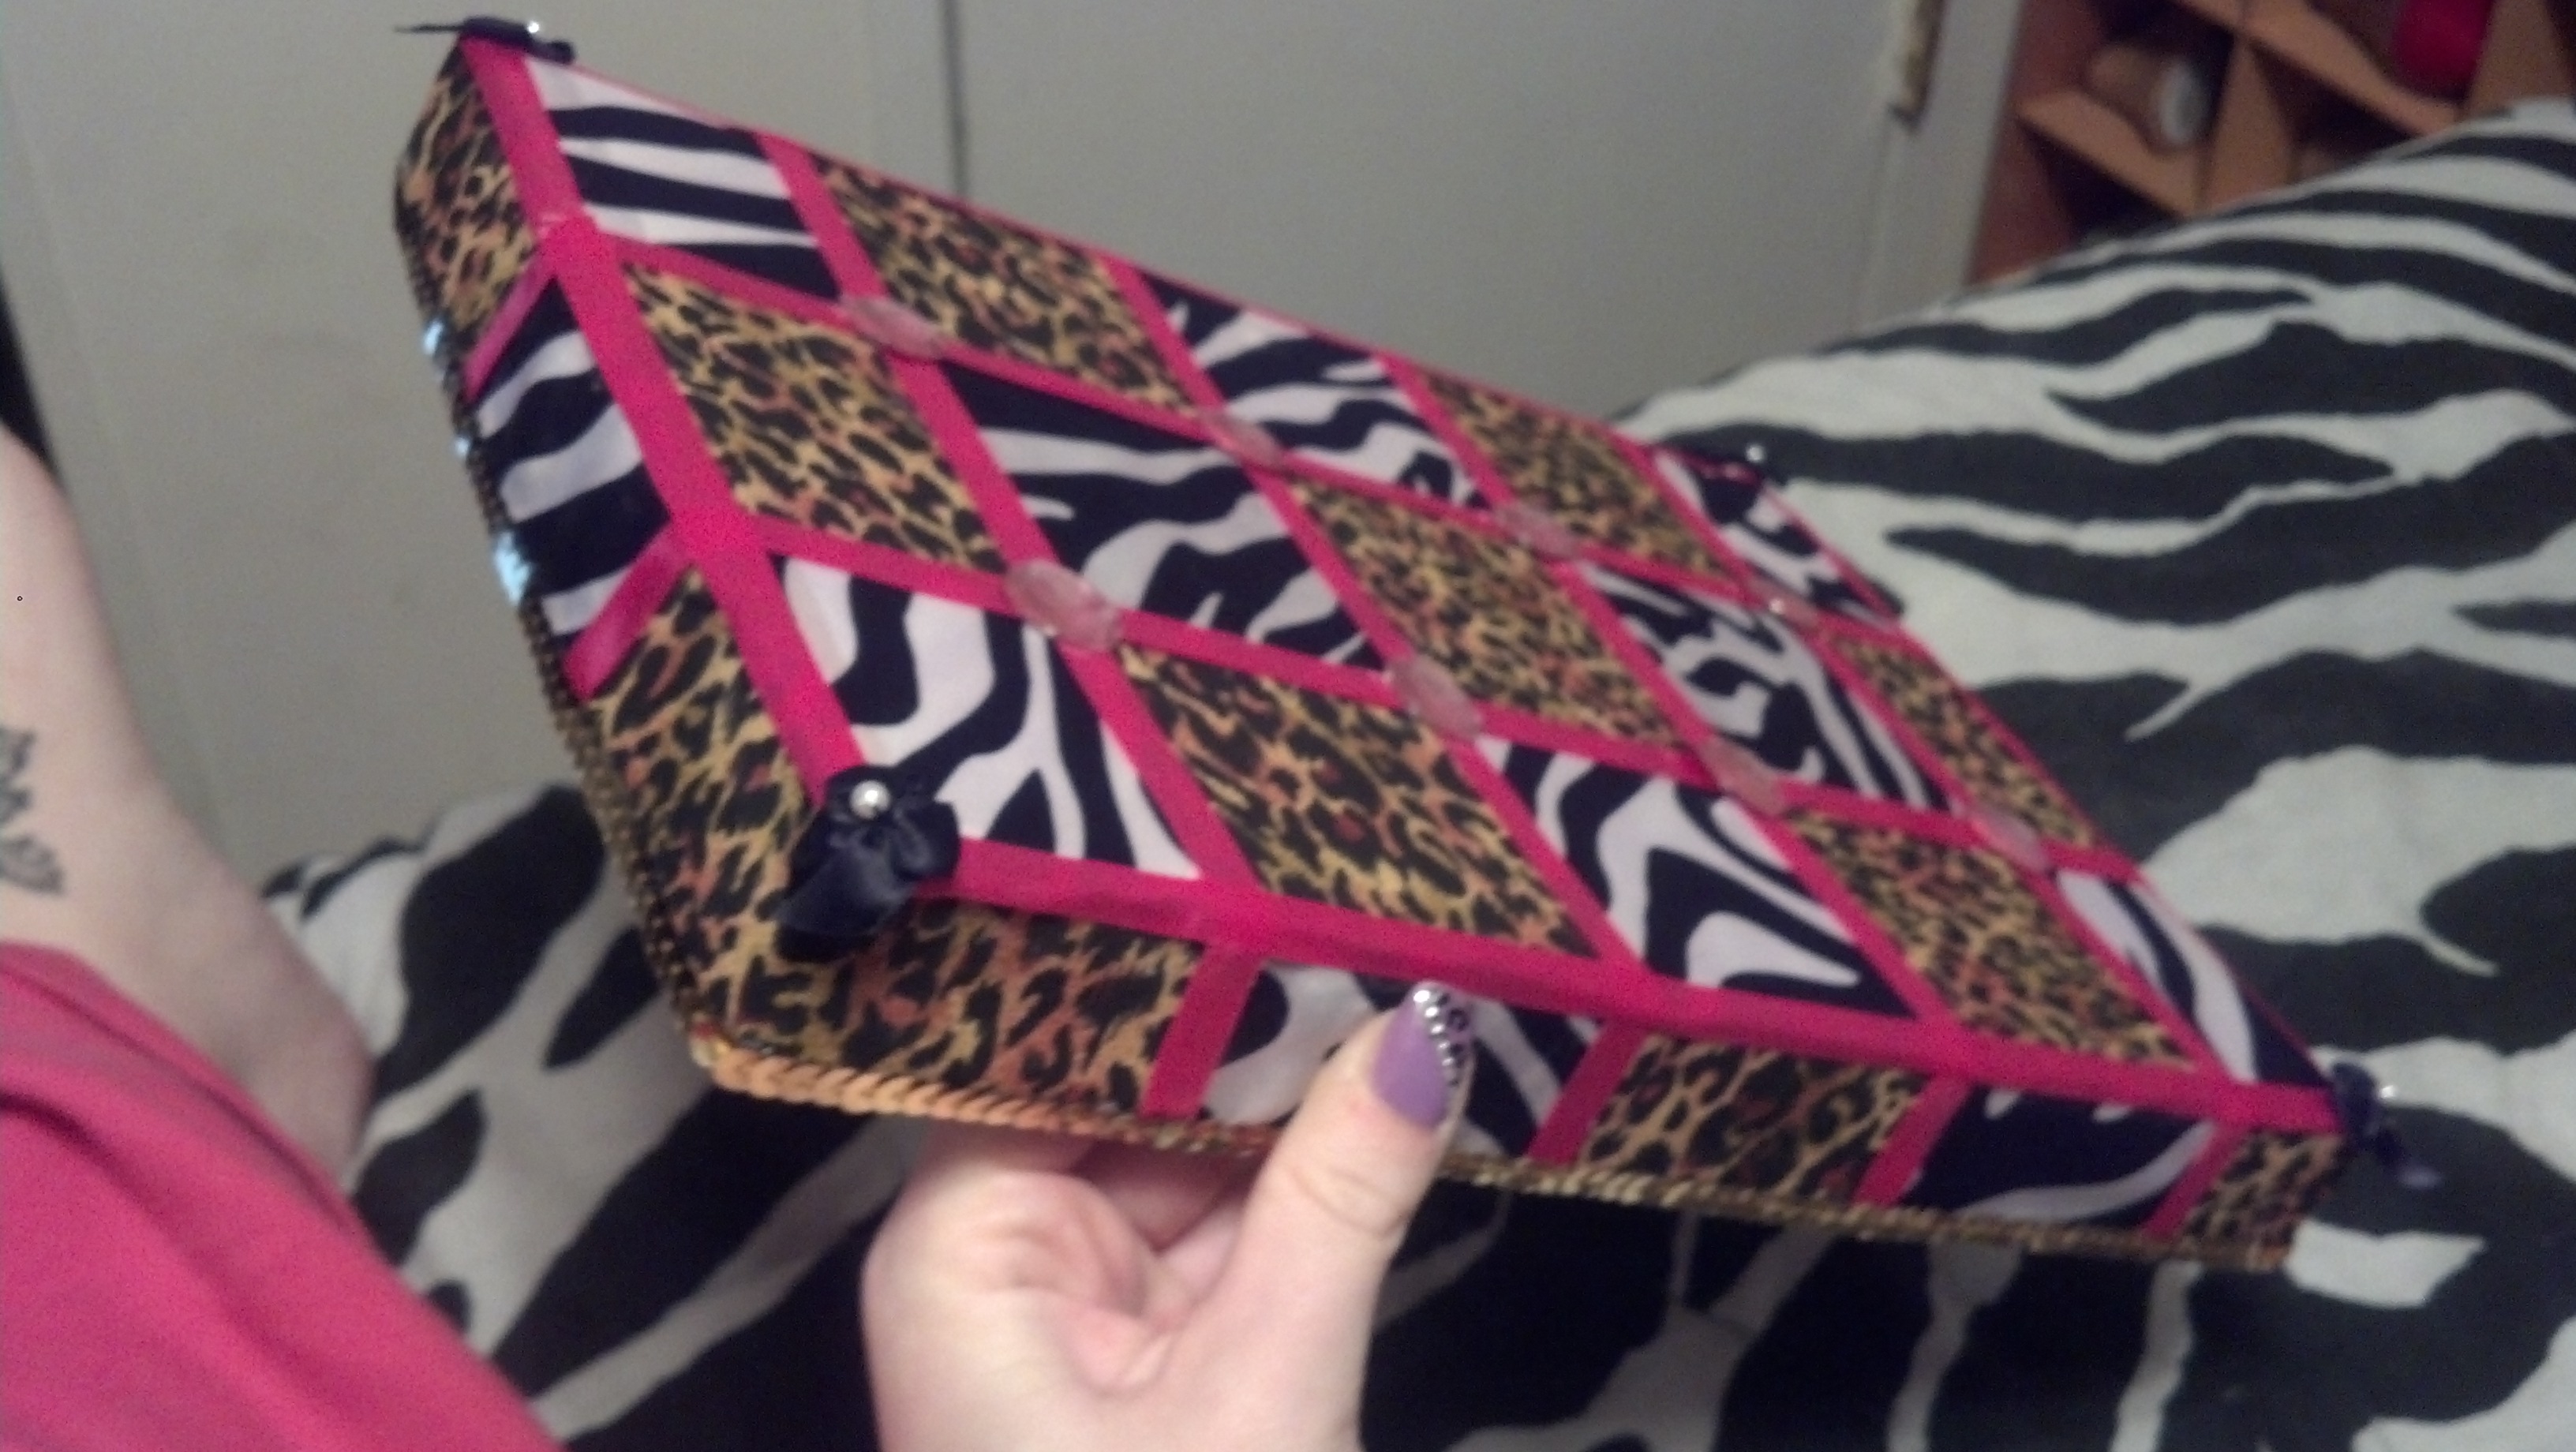
I bought 1 yard of hot pink craft boa for $4.50 on Amazon. Zebra and different shades of pink ribbons from Walmart. I usually buy the entire roll of ribbon so I can have some left overs for a future project! I bought glitter foam for $0.80 and black foam for $0.47. I had some adhesive rhinestones used for scrap-booking and black bows that I got a while ago for $2 at Walmart. I used those for my ribbon decorations. I used craft glue to make sure everything would stick together really good ($3 at Walmart). I also had safety pins handy, so I didn’t have to buy those, which you can find at the dollar store. First I cute 8 pieces of the zebra ribbon and 8 pieces of the sheer black ribbon to make my flower (4 of each were used for me and my moms brooch). I cut them long enough so that I could glue them in the middle and have enough hanging over to reach all the way to the other side. Once I glued all 16 individual ribbons together, I glued one on top of another in an alternating pattern. Once that dried I cut 2 large circles of glitter foam to use as my middle background and glued that in the center of the glued ribbons for each of the brooches. I then printed Mother-To-Be and Grandmother-To-Be on the computer, cut it out and glued that on the glitter foam. Then I cut enough of the craft boa to form a complete circle lining the outside of my foam. While I let that dry I cut 2 more circles of the black foam to use for the backs of my brooches. I cut a bunch of several different kinds of pink and black ribbon for mine and my moms brooch, glued them onto the foam in a string line pattern and waited for them to dry so I could add the little bows and rhinestones to the ends of each ribbon. Once I did that, I glued to flower part of the brooch to the back piece and let that dry. Lastly I glued a safety pin to the back of each brooch so we could wear them on our clothes on the big day. They turned out looking better than the picture I originally got the idea from! I was very proud of myself. And now, I’m going to save them as keepsakes for my little girl. I’m still debating whether I want to hang it in my room, or frame it in hers. (:

2013-01-23_19-59-01_449

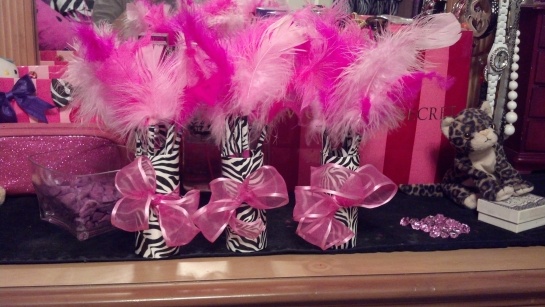
My next favorite idea that I can across and decided to make were these adorable pink and zebra table top imitation flower decorations. Here is the link to the website where the girl teaches you how to make them. I changed mine up a little bit. I had to improvise because I did not have the things that she had. Instead of tin cans I used recycled toilet paper rolls. And I used some pink straws instead of pens because I didn’t have that many of the same kind of pen. I covered the cardboard rolls with the zebra duct tape that I bought at the Dollar Tree for $3.75. Then I taped assorted pink feathers ($5 on Amazon) to the tops of my straws and pens to make the “flowers”. Last, I tied a pretty pink bow around the cardboard to add some pink to the base. I used a sheer light pink ribbon that had wire in it so I could shape the bow how I wanted it. That was pretty much it for those! I thought this was the easiest of them all and it took no time to make. I did have to buy the feathers online though and wait for those to be delivered because I live in a small town (Lake City, FL) where there are no large craft stores around.

2013-01-22_21-38-59_742

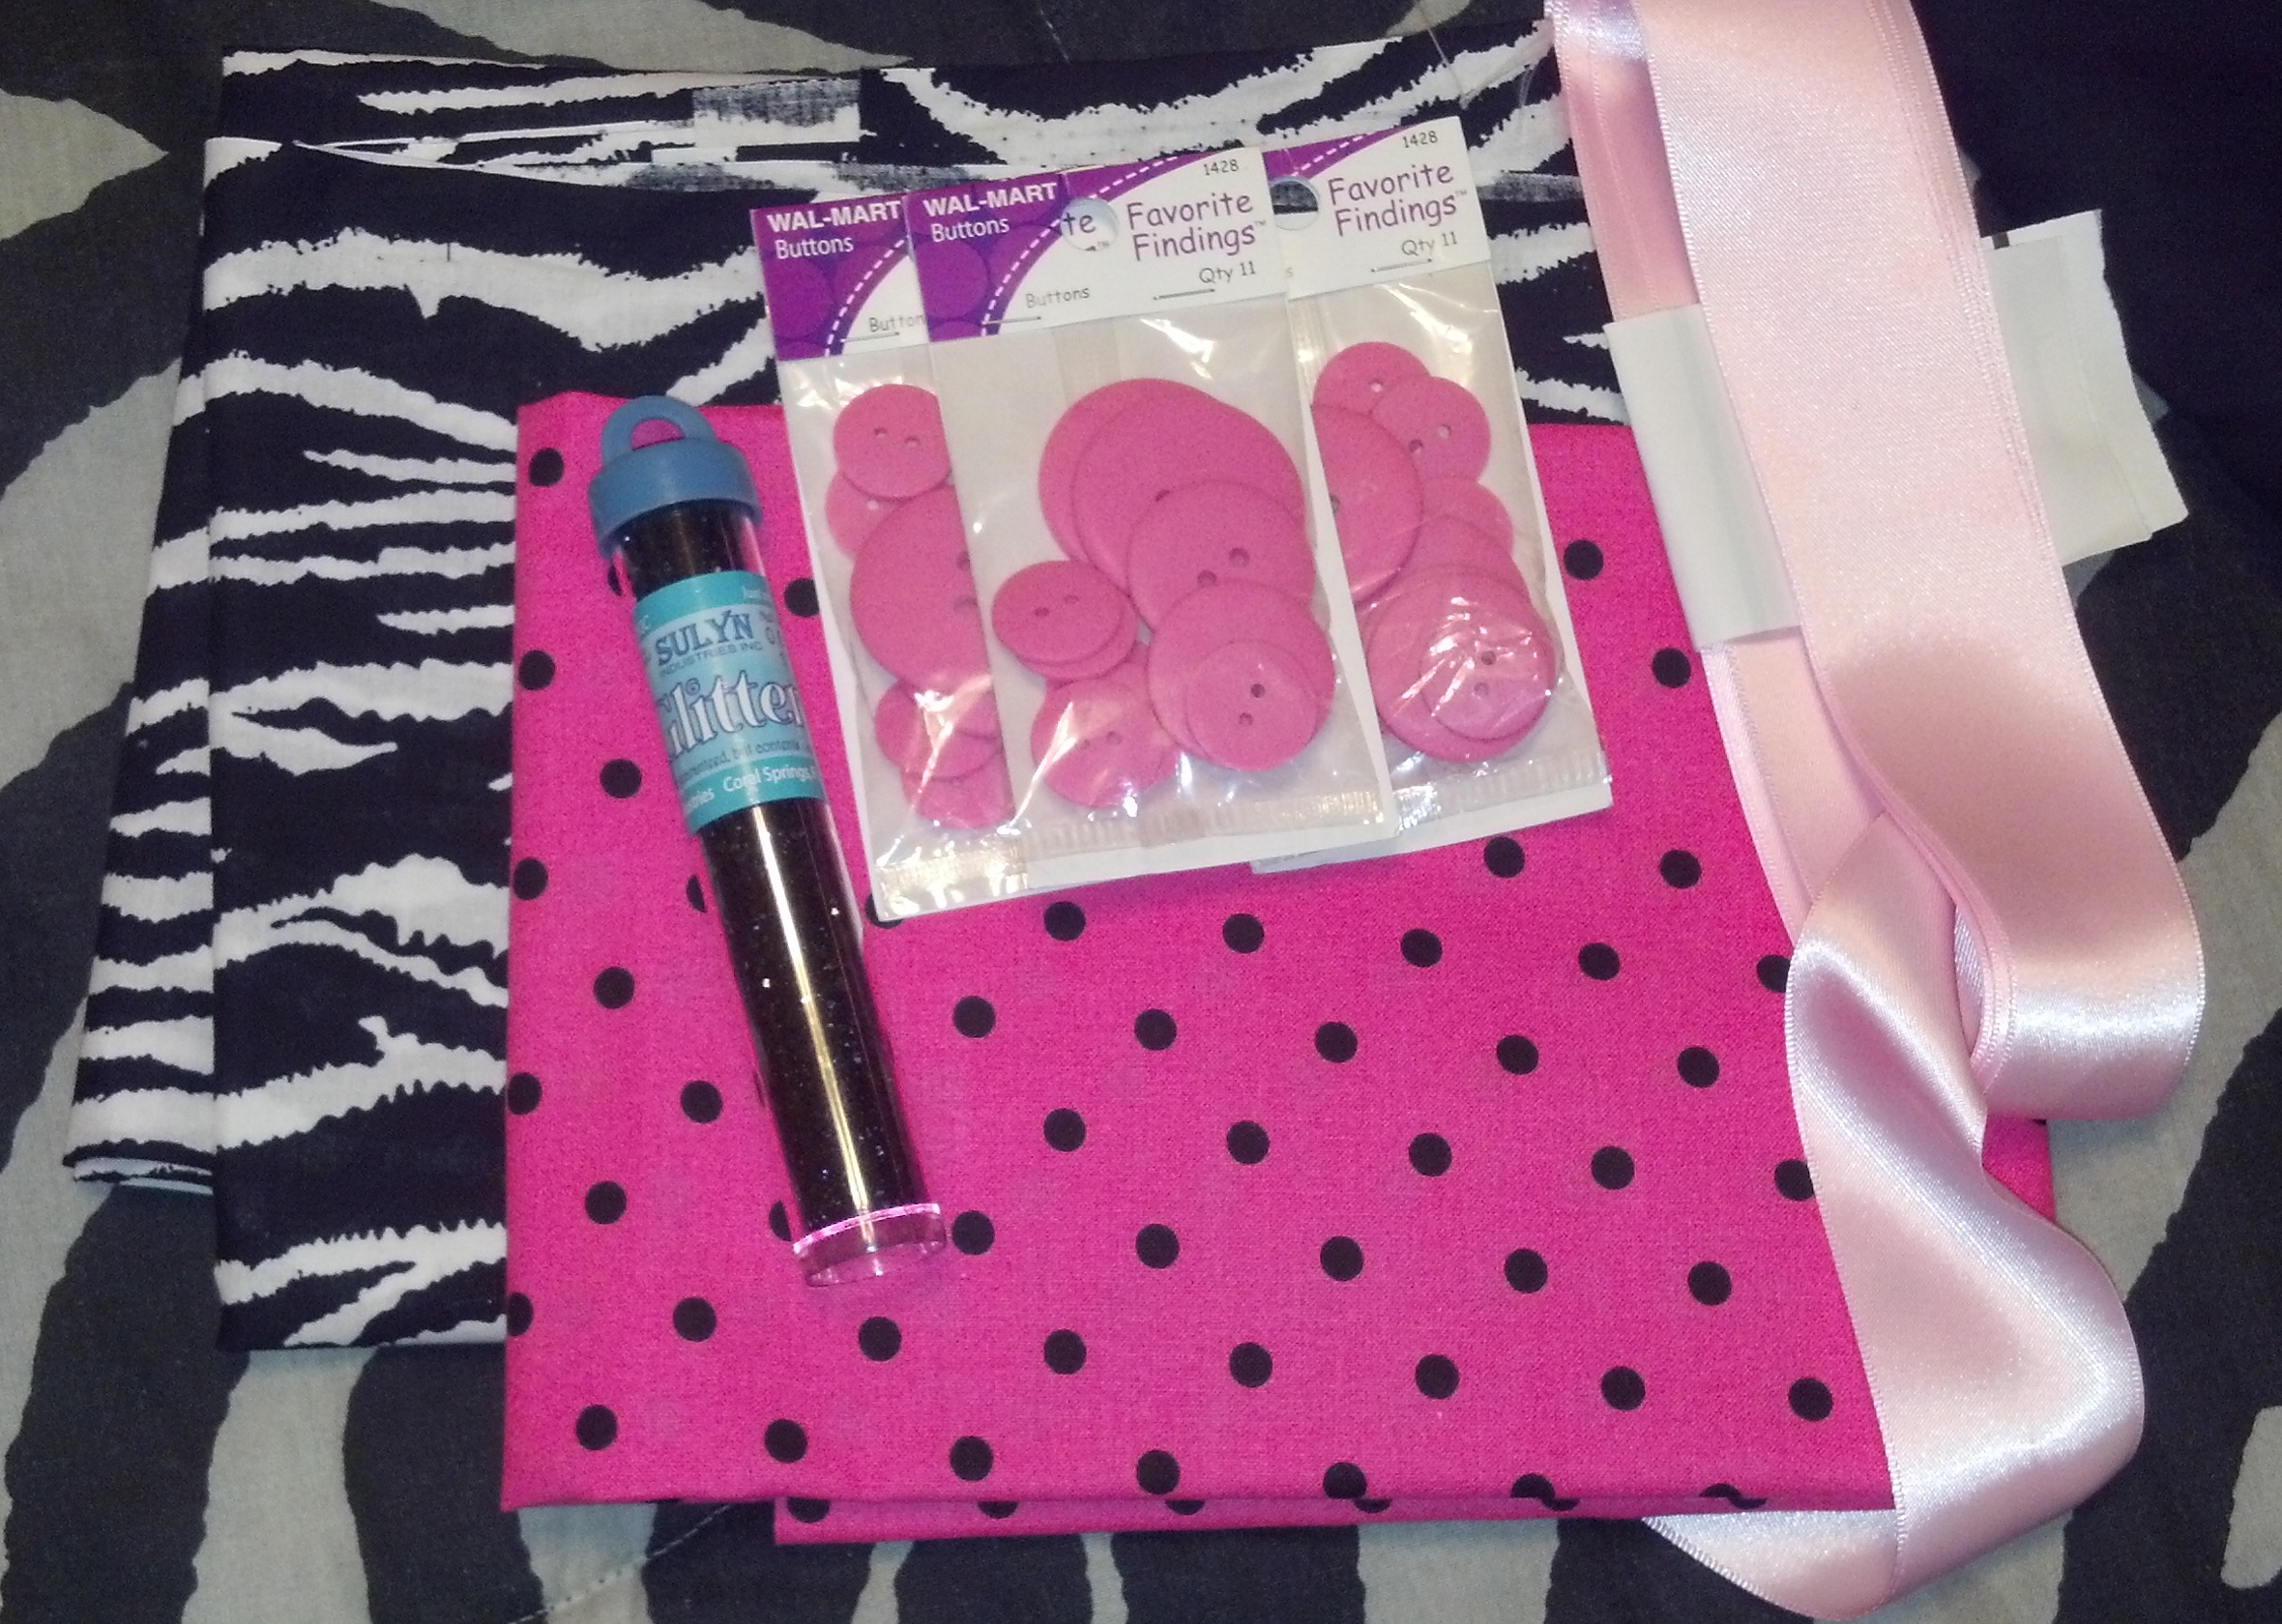
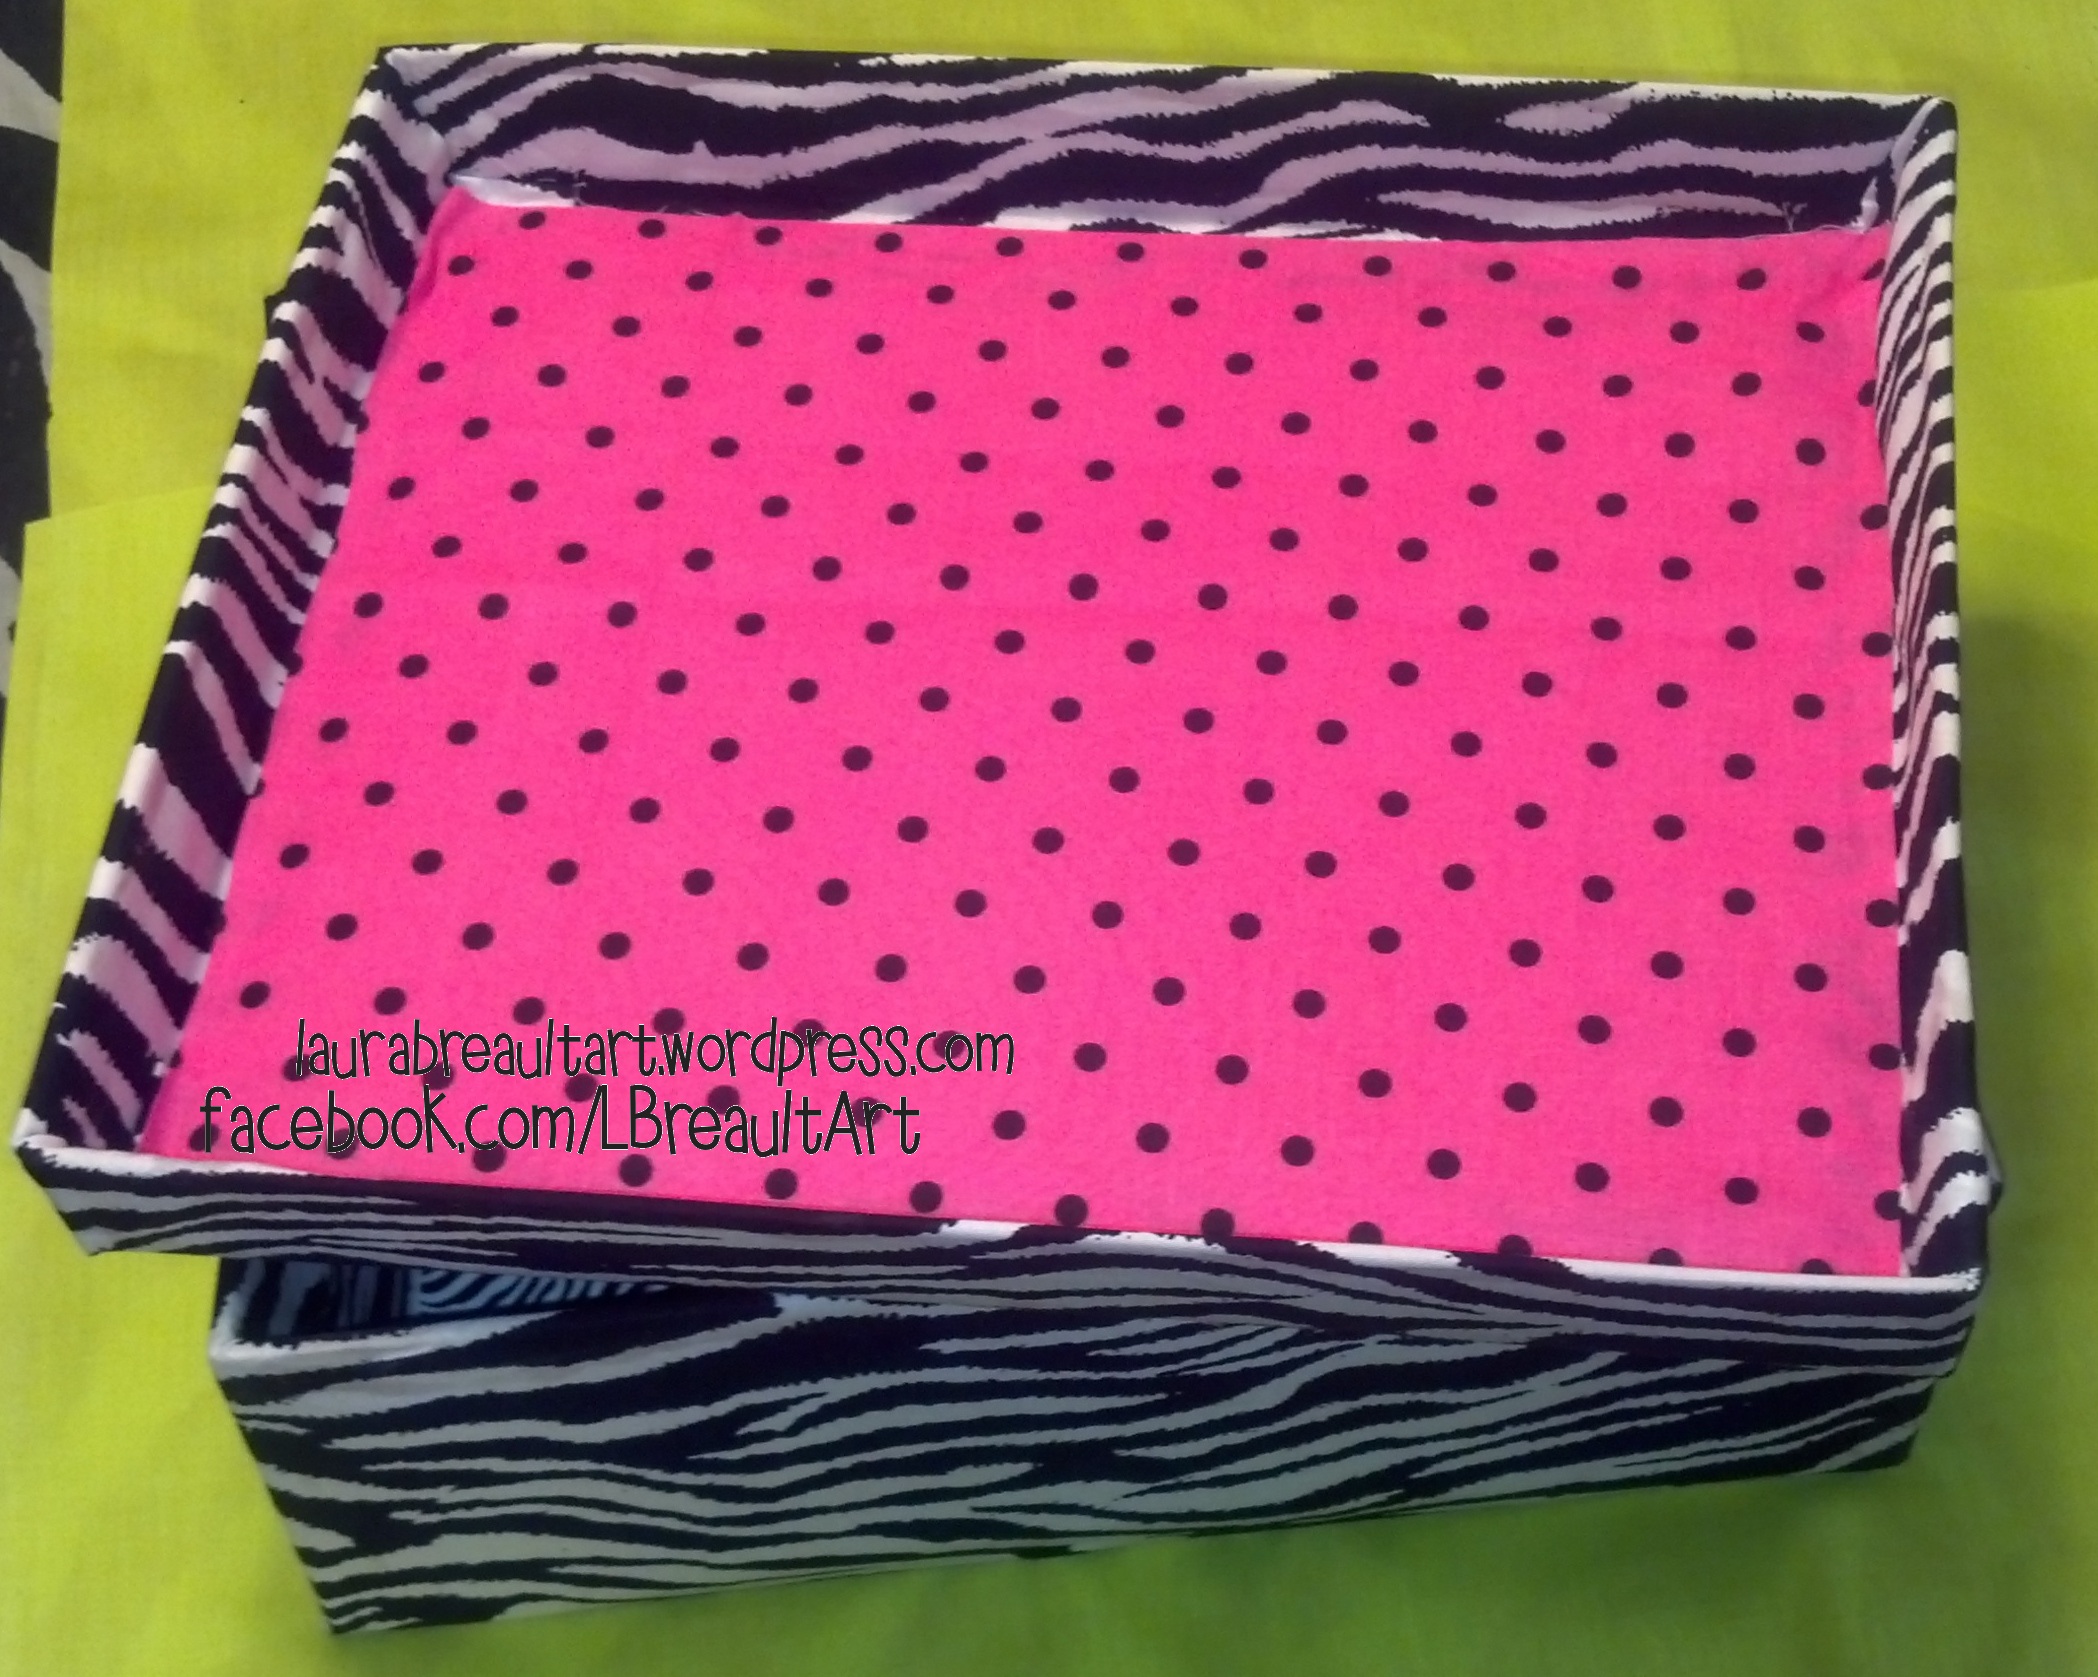
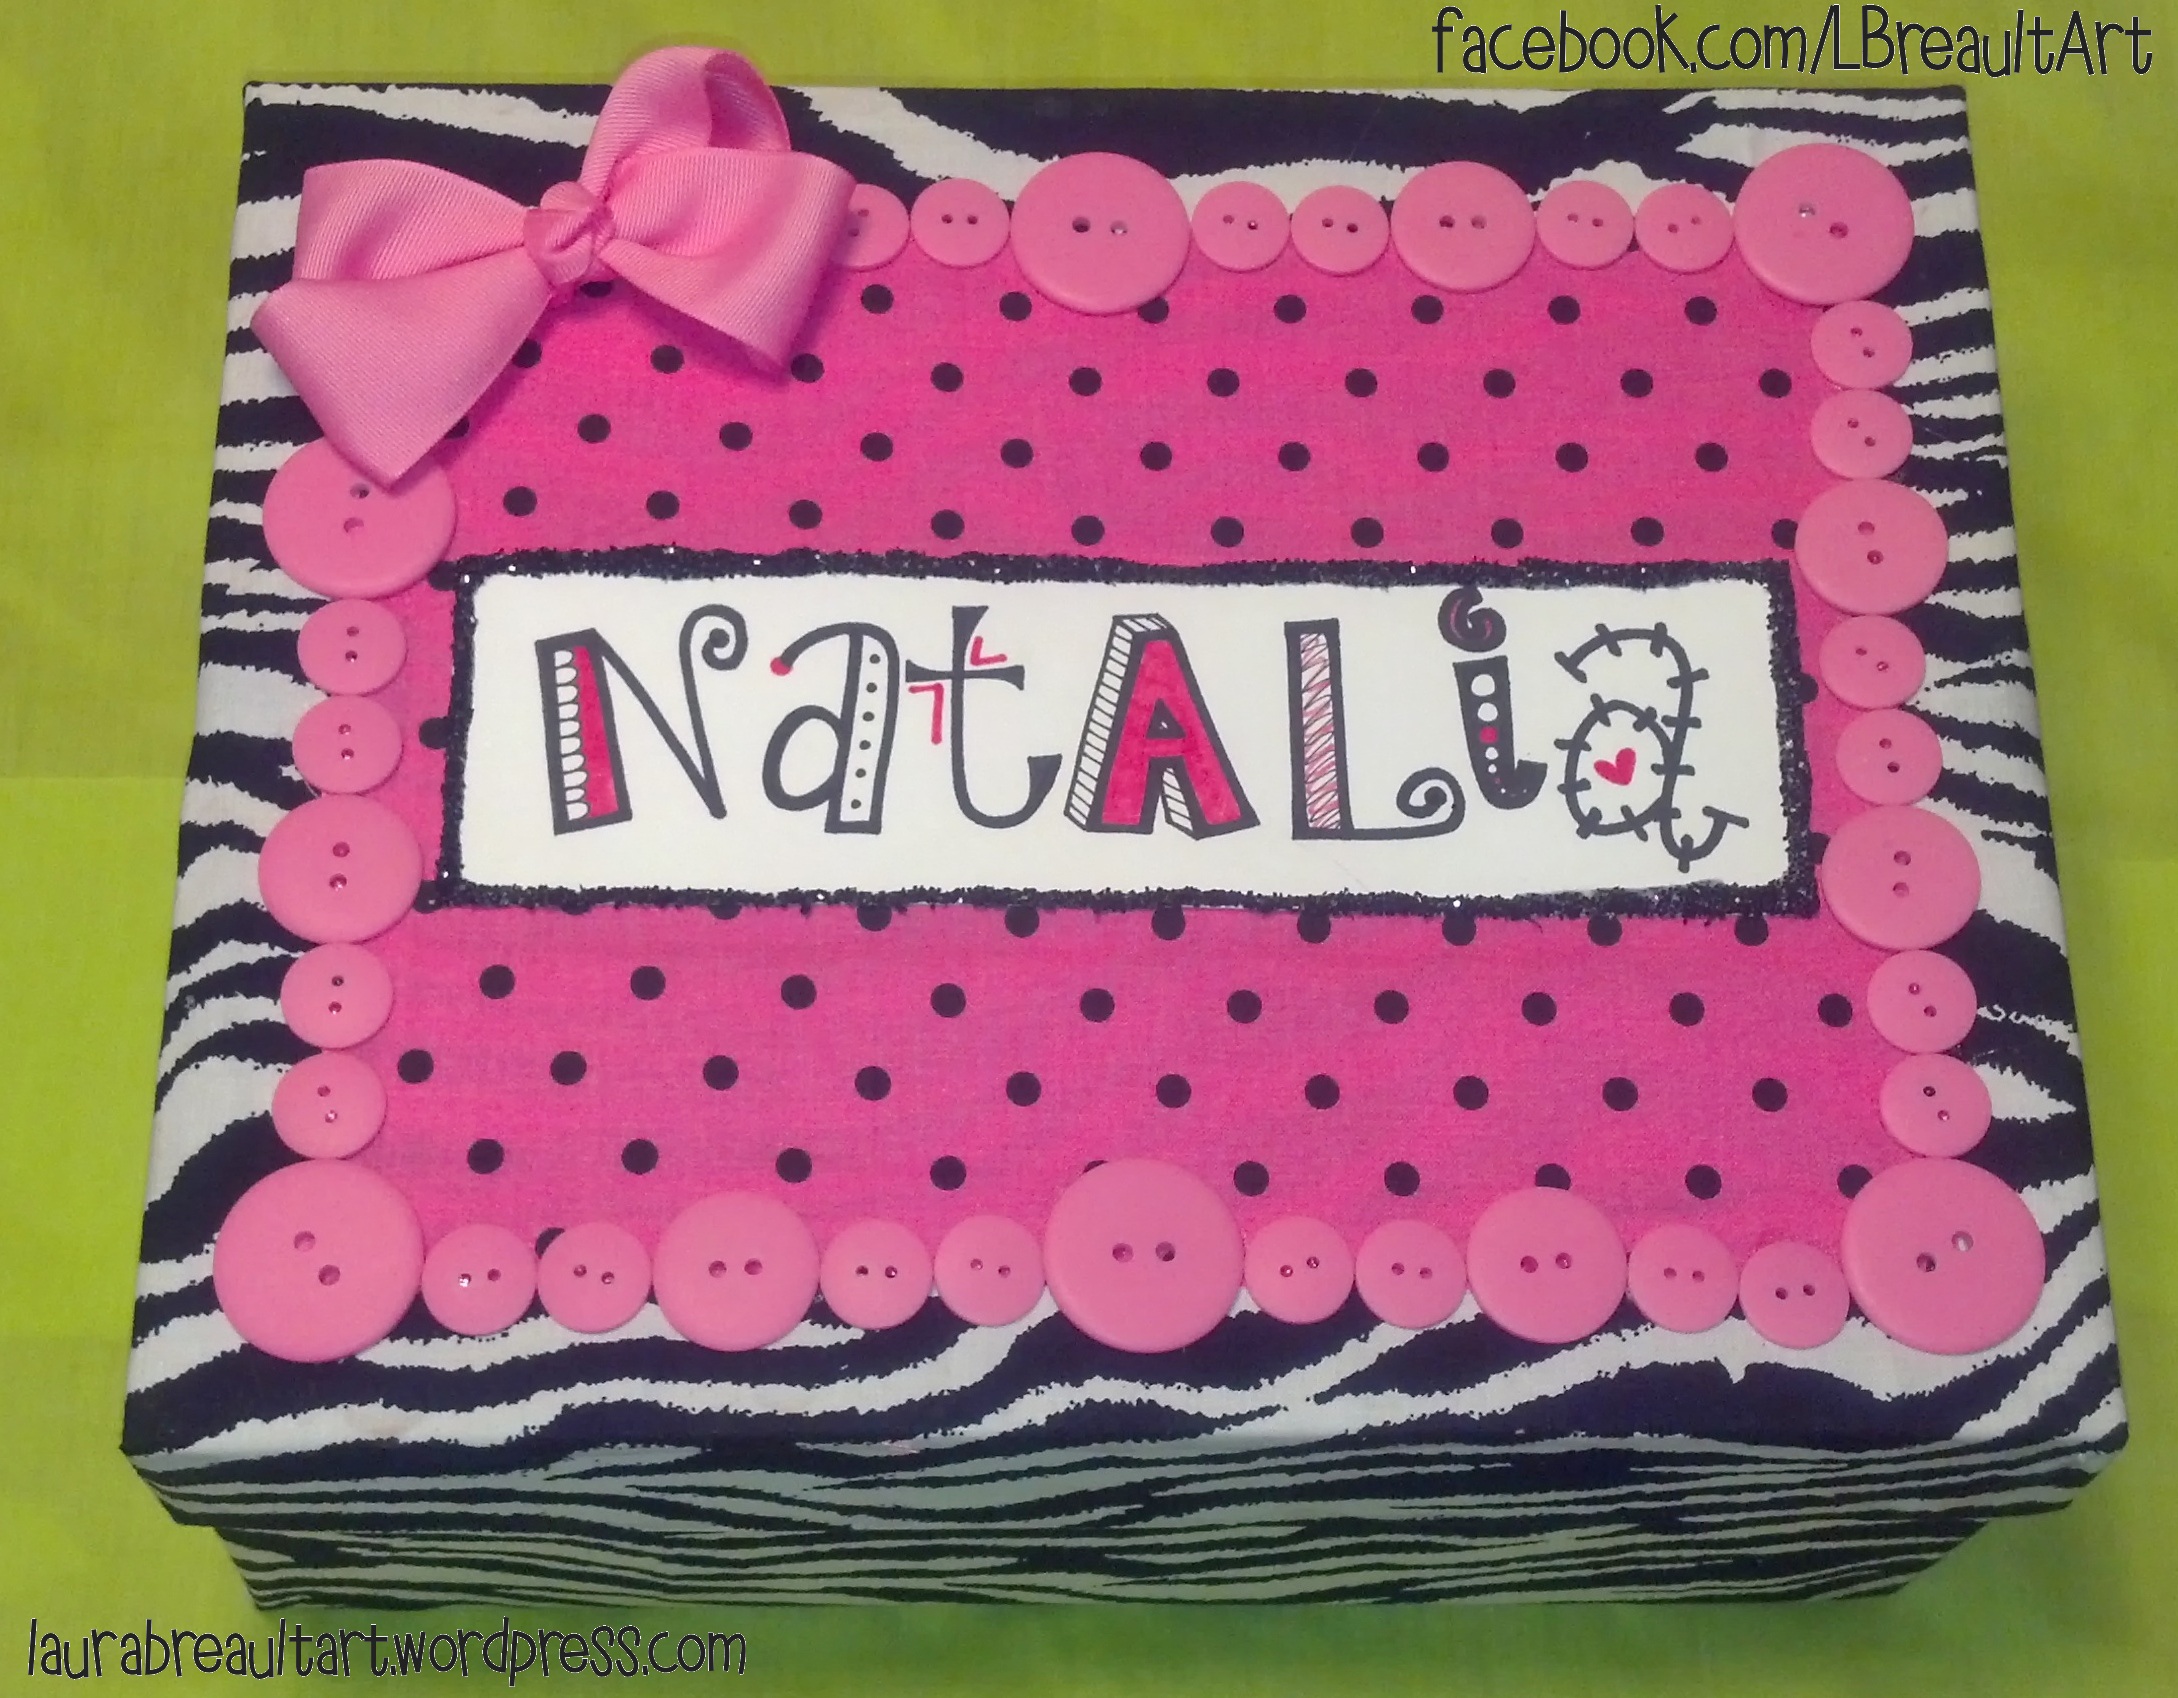
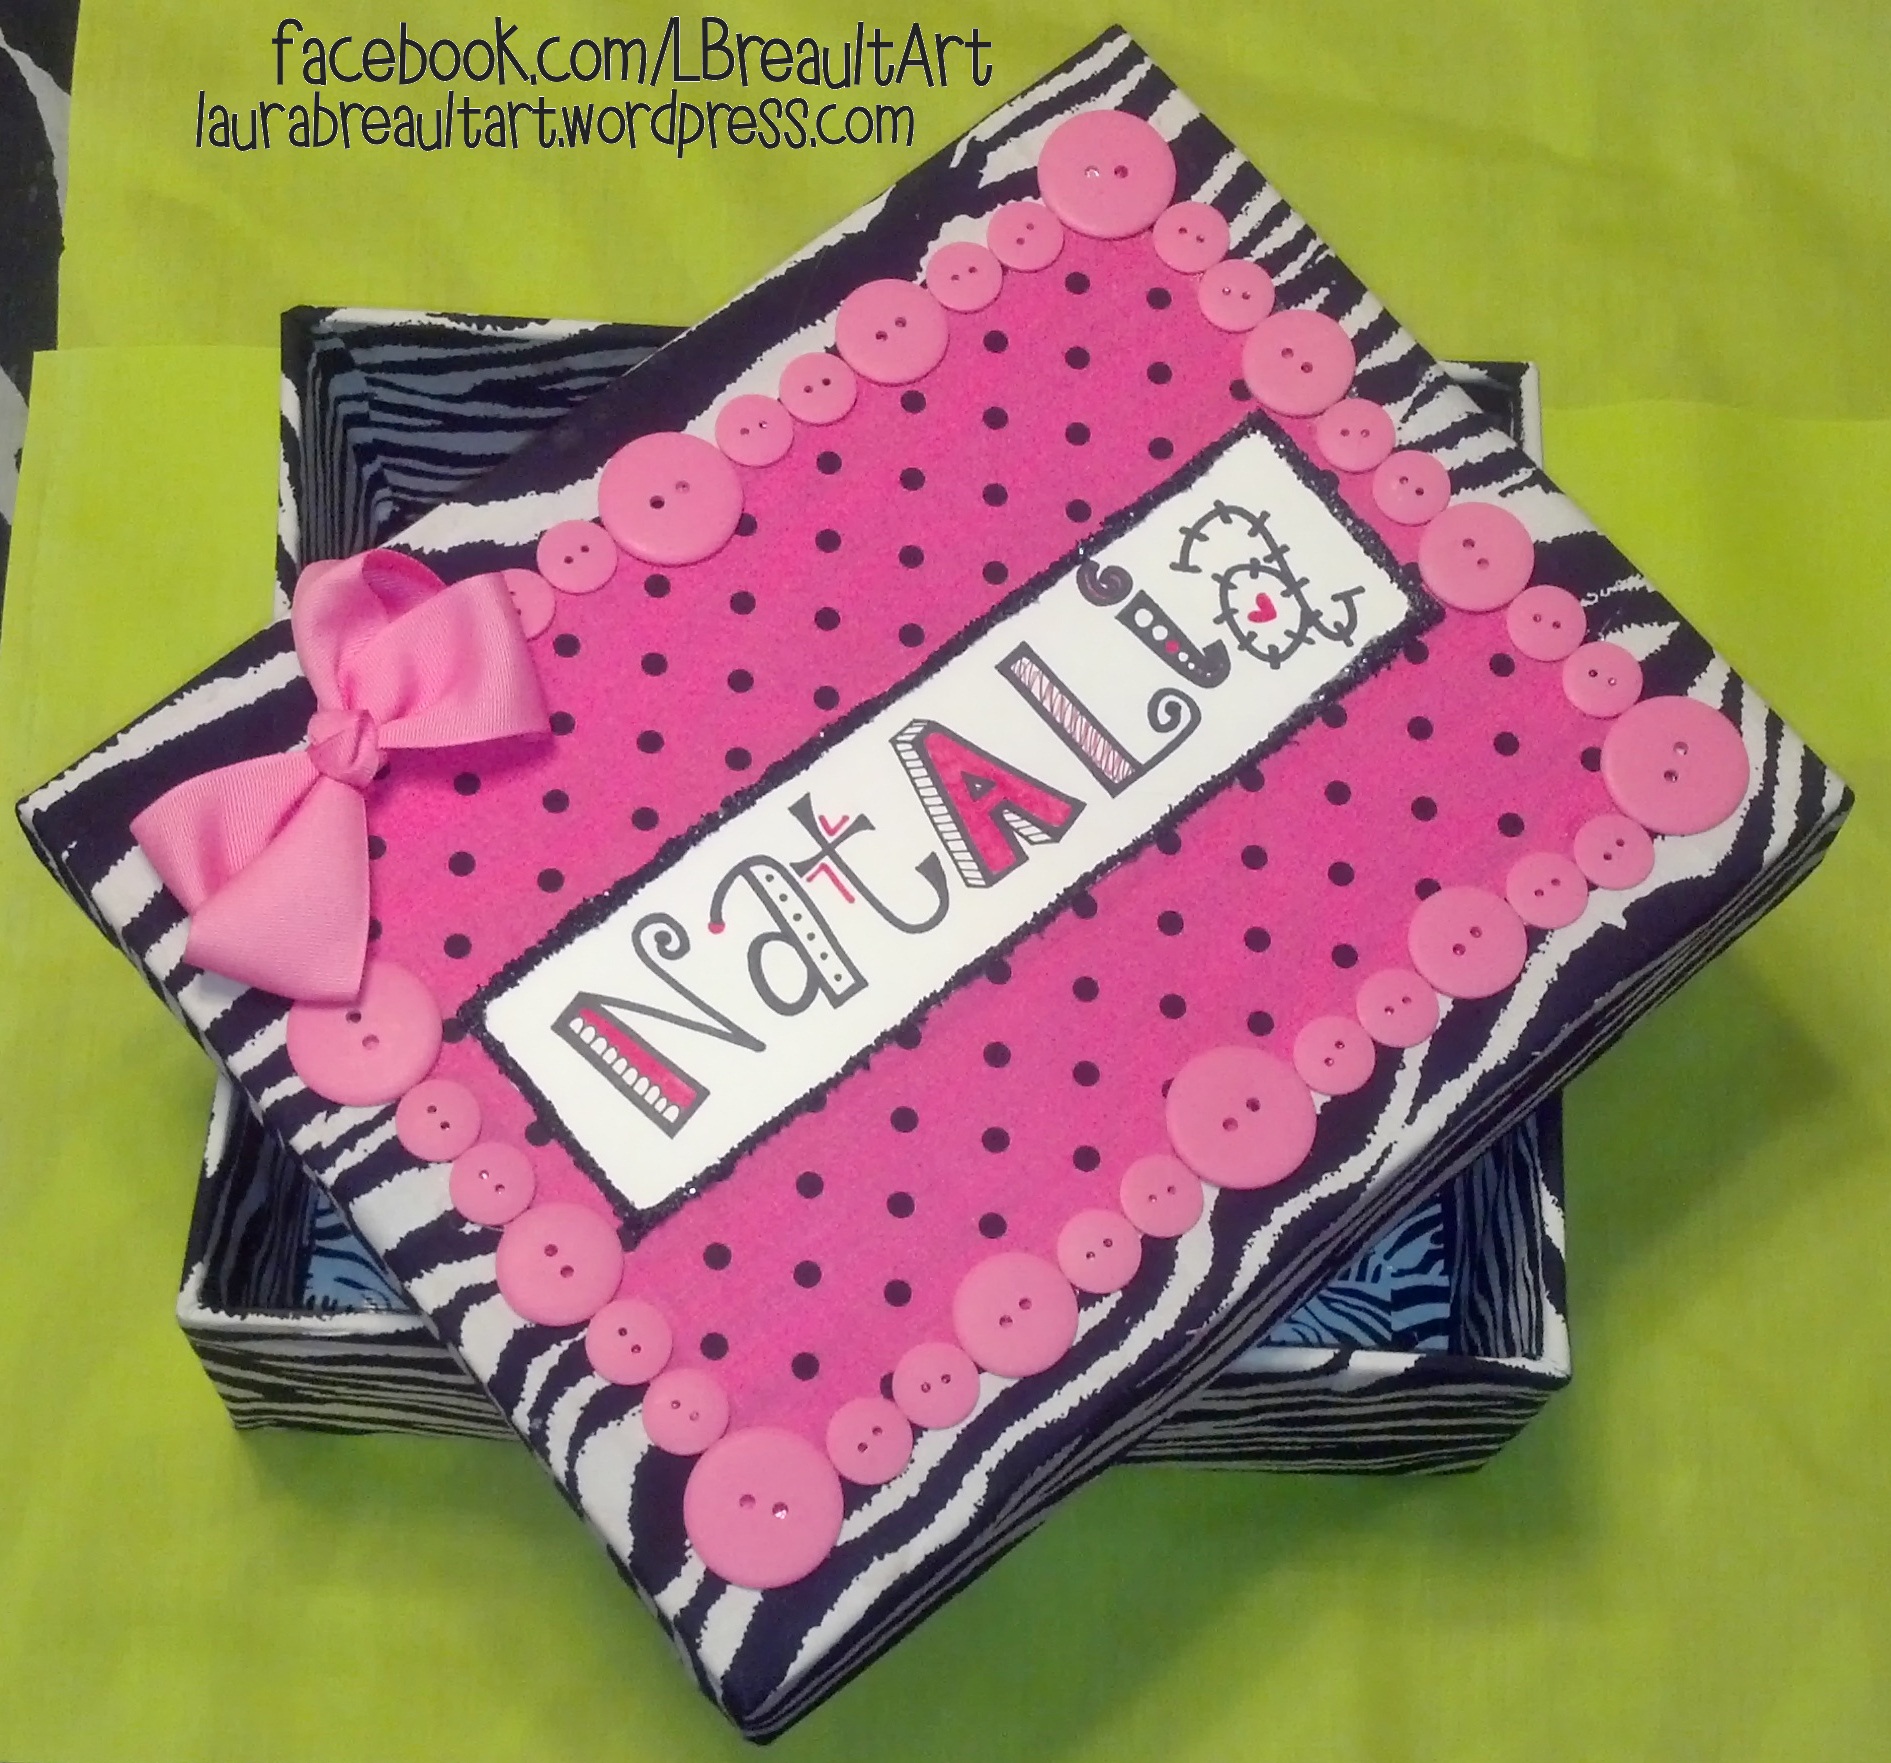
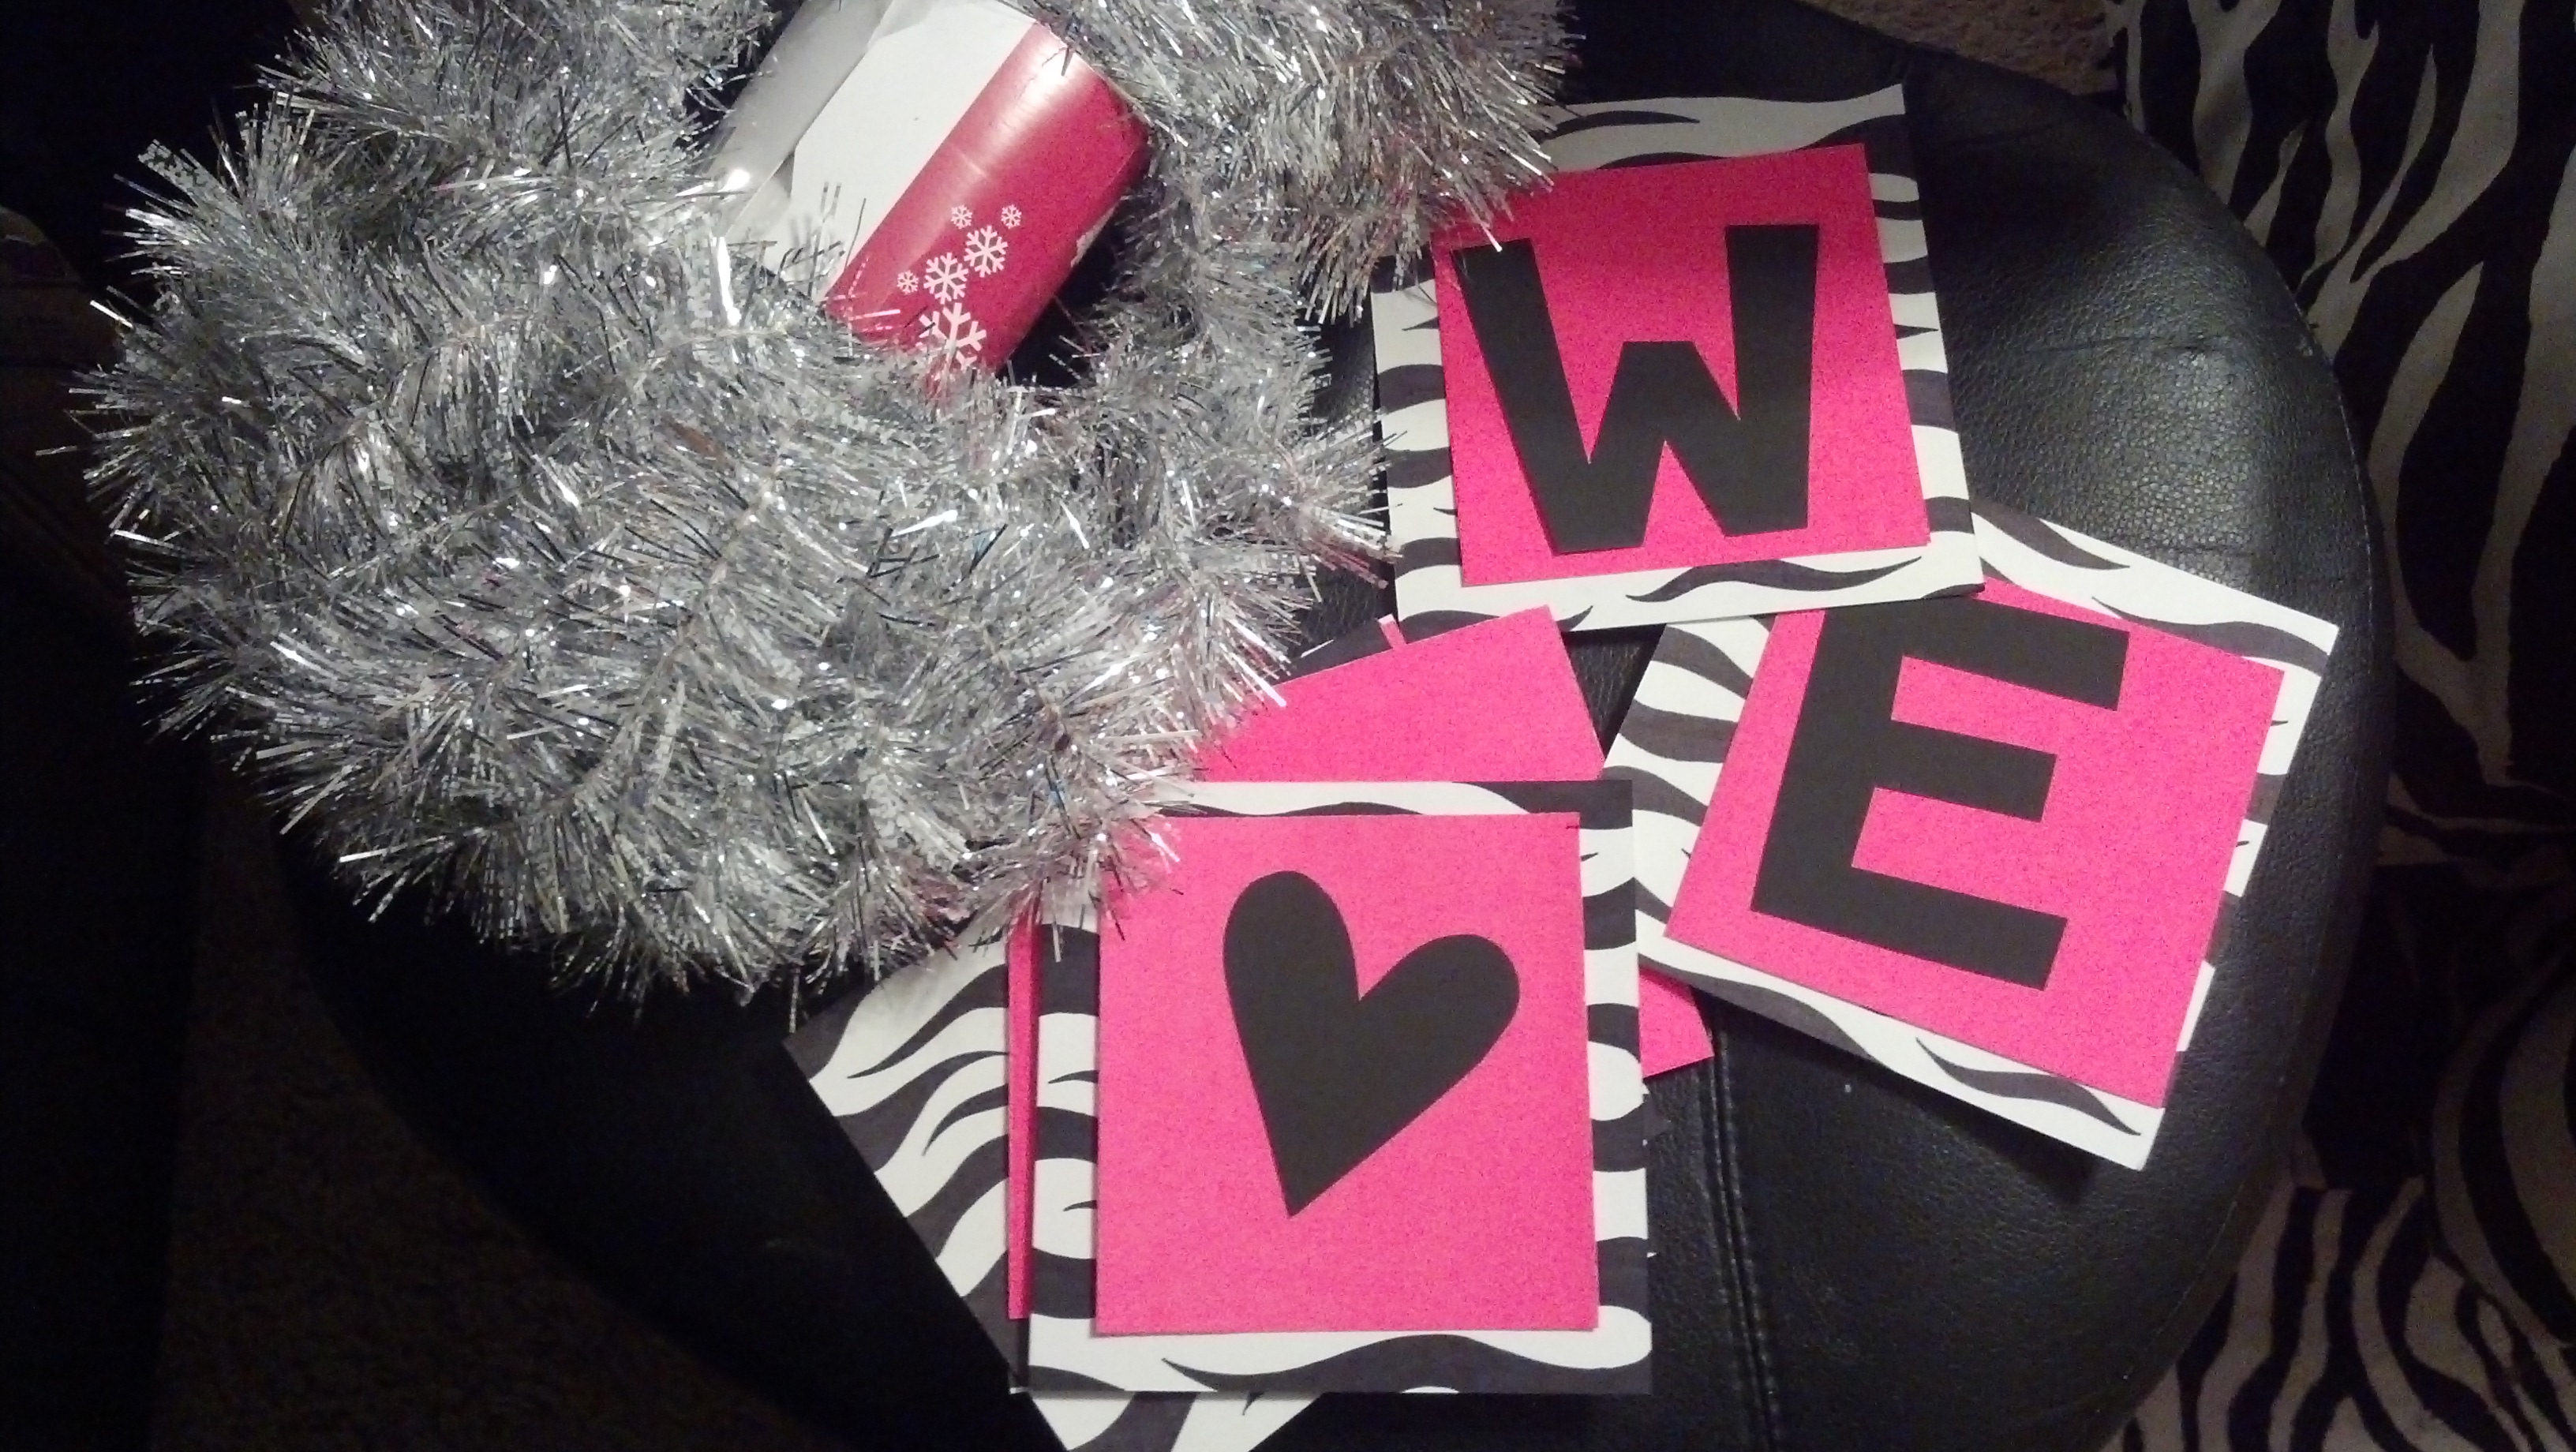
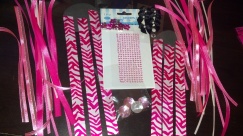
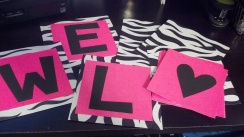
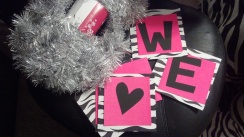
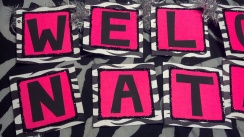
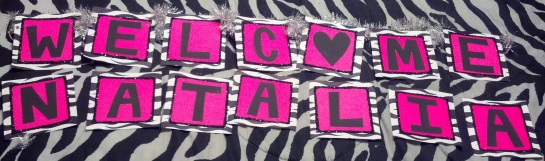
Last but not least, the garland. I could not find ANYTHING that I liked as far as a garland for the baby shower. So I decided to come up with my own idea. I drew my own zebra striped on card stock with a sharpie, cut hot pink poster paper in smaller squares to accent the background of the letter, cut black letters to spell “Welcome Natalia”, glued black glitter on the outside edges of the pink paper, and bought a 100 ft. silver sparkly garland from an after Christmas sale for $1.50. The whole thing cost less than $10. $3 for the sharpies, $3 for the paper, and the garland. I already had the glitter, but if I didn’t I would have only had to spend $2 on that. Unfortunately I didn’t get to display this decoration because I could not hang it in the outside with all the wind that was blowing, nor did I remember to bring thumb-tacks. -_-

2013-01-20_17-40-31_6582013-01-20_15-22-00_470

2013-01-22_22-39-33_4272013-01-28_17-26-32_655

2013-01-28_17-26-21_710

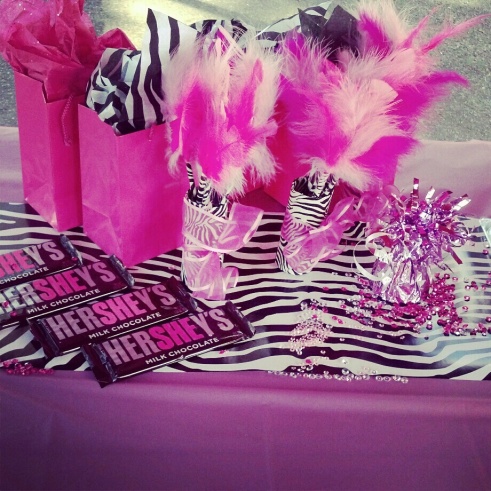
Well here are three really easy ideas that anybody could use for any pink or zebra party event. They are inexpensive, fun and easy to make! Now I’m going to end this post with one more interesting idea from “Pinspiration”. Hershey’s candy bars; use acrylic paint to pain the he blue for a boy, the she pink for a girl, or both if you don’t know the gender. ❤

IMG_20130127_123303

Homemade Baby Shower Decorations

22 Jan

Well, I’ve decided that I want to be crafty and make my own decorations for my baby shower! I’m going to make a customized garland that says “Welcome Natalia” because I can’t find any cute ones that will match the theme of the shower for a good price. So, I spent no more than $7 buying everything I needed to make my own garland; can’t beat that! I bought a silver sparkly garland at the dollar general that was on sale for “after Christmas”, only paid $1.50 for it. Then I bought some hot pink, black and white card stock to make my letters. I already had glitter and markers, so didn’t have to buy those things. I also bought some zebra duct tape and some assorted pink feathers to make these really cute tabletop decorations that I saw on Pinterest. I already have TONS of pink ribbon, so didn’t have to buy that either. This is what I’ve got so far! (:

My Homemade Feather Decorations. (:

My Homemade Feather Decorations. (:

The Start of My Garland Project.

The Start of My Garland Project. I drew the zebra stripes and free-handed the letters!

Half of the Brooches I’m Making for Me & My Mother to Wear.

Half of the Brooches I’m Making for Me & My Mother to Wear.

The Other Half of The Brooches! Unfinished (;

The Other Half of The Brooches! Unfinished (;

2013-01-22_22-54-12_428

The Goodie Bags, Zebra Striped Balloons and Table Runner! I would have taken pictures of the prizes, but I don’t want my guests to see them yet! (;

Oh and here are some more decorations that came in the mail! Now all I’m waiting on is the hot pink zebra cupcake holders which should be here in no more than 3 days! I’m super excited, especially because my dress finally was delivered and it looks absolutely AMAZING on my pregnant self. ;D
Not to mention, I already have the PERFECT shoes to go with my dress. Coincidentally, they are the EXACT same colors as the dress, and I also have some pretty black sparkly flats that are brand new, haven’t been worn yet, to wear as back-ups because I don’t think I’m going to be wearing heels for my 2 hour party, lol!

A Sneak Peek of One of the Games that will be Played at the Party! Raffle Tickets (:

A Sneak Peek of One of the Games that will be Played at the Party! Raffle Tickets (:

I’m so excited about this baby shower and it makes me happy that I made half of everything. I’ve probably spent more money than I should, but hey! I NEVER throw parties, so I don’t mind spending money on a party for my daughter. I’ve got some really fun games planned for my guests to play to keep them entertained and they are coming out great. After the party, I’m going to post pictures of how everything looks, the food, the table, the decorations, and of course myself. I’m also going to take pictures of the games and everybody playing them, the prizes they win, and the guests-as well as the presents. I cannot wait for this weekend!!! ❤

Creative Wish Box Complete!

18 Jan

2013-01-16_23-52-46_958

Well, I finally finished making my Creation Wish Box Project. Just in time too, seeing as how I have so many other projects to start. It took me almost a month to do, but it is totally worth it because, LOOK HOW CUTE THIS BOX IS?! I’m in love with it! It’s perfect for me, my wishes, it’s made by me, and it matches my zebra-obsessed room. ;D
I’ll post many photos of the progress of this project and everything I used to make it. I probably spent a total of close to $35 to make it; but hey, it’s what I wanted and it makes me happy. No regrets. (:

2012-12-27_23-35-26_6812012-12-28_21-57-07_74

2012-12-28_22-08-18_2932013-01-03_14-03-35_673

2013-01-03_14-04-01_5102013-01-03_14-04-20_245

2013-01-04_00-46-12_6782013-01-04_00-46-24_724

2013-01-05_13-30-08_8132013-01-05_13-30-19_856

2013-01-04_21-09-05_2352013-01-05_13-38-23_332

2013-01-05_13-38-05_7582013-01-05_13-33-15_56

2013-01-13_16-51-32_3002013-01-13_16-51-24_385

2013-01-16_23-53-14_142013-01-13_16-52-22_199

2013-01-13_22-47-05_6822013-01-13_22-52-31_611

2013-01-16_23-53-37_4652013-01-16_23-53-02_468

2013-01-16_23-52-46_9582013-01-16_23-54-31_313

2013-01-16_23-59-16_323 2013-01-16_23-59-31_220

2013-01-16_23-58-39_1862013-01-16_23-59-01_205

Let me just remind everybody that the purpose of this project was to put my learning of Law of Attraction into action. I make a box that makes me feel good, I put cut out’s, pictures, notes, and items that I want to attract into my experience in it, and then I allow/watch it manifest in my life. I can’t wait to start putting more items in my wish box and watch them appear in my life. This project puts me in a great mood and keeps me feeling positive about it and everything else. I am very happy that I made this box and I encourage everybody else to do it also! Of course, you don’t have to go all out and spend all kinds of crazy money like I did just to make a simple box, but do whatever makes you happy! You could make a collage on your box of things that you like, or cover it in pictures of yourself and the people you love in your life, you could even put random words and drawings all over it, whatever your heart desires. I would love to know if this is an inspiration for you to make your own box. And don’t forget to make sure you take plenty of pictures of it so you can show it off! (:

Fruity Toes!

13 Jan

2013-01-11_20-46-42_984

How cute are these?! I got the idea from Google or Pinterest, I don’t exactly remember. To make things even better, my last shipment of nail art supplies came in today: my brand new brushes. They work 10x better than the other ones I bought, and I only paid $2.97. To do this design, I used L.A. Colors Spring Frost that I got for $1 at Dollar General, Mint Green by Rue beauté, Ruby Kisses French White & Sally Hansen Clear Base & Top Coat.

2013-01-11_20-53-52_48

First I painted the base of all my toes using the two greens in an odd, every-other pattern. I then used my #00 nail art brush to paint white vertical lines on my two big toes. After that, I applied two green rhinestones, one on both of my second and last toes. I put some small different fruit pieces on my two middle toes, adding a white pearl to my third toe. Finally I make sort of a collage of different fruit, colored dots and rhinestones to the big toes, and complete the pedicure with the top coat. This has to be, so far, my favorite toe nail design that I’ve done so far! Now I just have to get some cute flip flops to match. ;D

2013-01-11_20-44-03_528

2013-01-11_20-43-43_318

Holiday Celebration Toes

5 Jan

IMG_20121231_232711I call this week’s toe nail design: Holiday Celebration. I used red, black and silver colors to represent the holidays. I started by painting all my toes with Pure Ice bright red nail polish. I then used a sparkly silver nail polish that I got from RUE21 to paint a layer of silver diagonally across all my toes. Next I used my black nail art nail polish to draw several decorative stripes and swirls on the silver part of all my toes. After those dried, I adhered three red rhinestones on the silver corner of my big toe, and only one on the rest of them. Lastly, I finished them off with Sally Hansen’s clear top and base coat. Walla! My Holidays Toe nails for this week.

The F. Nails

Nails for the stylish youth

arosebrown

Fashion. Beauty. Photography. Art. Advertising. Design.

Nail Luxxe

Nails, Nail Art Designs, Nail Care & More

Beauty by Brittany

Everything and Anything Beauty!

dottyaboutnails

One girl, ten nails and a million nail polishes....

Polish Alcoholic

I confess... I'm addicted to nailpolish

Doula Momma

Discussing pregnancy, birth, cesarean, VBAC, breastfeeding, babies and more

CosmeticsObsession

Your one stop blog for everything makeup.