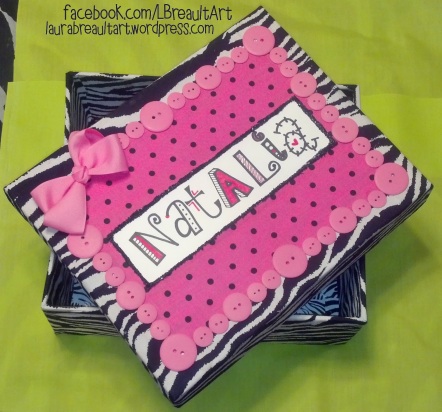
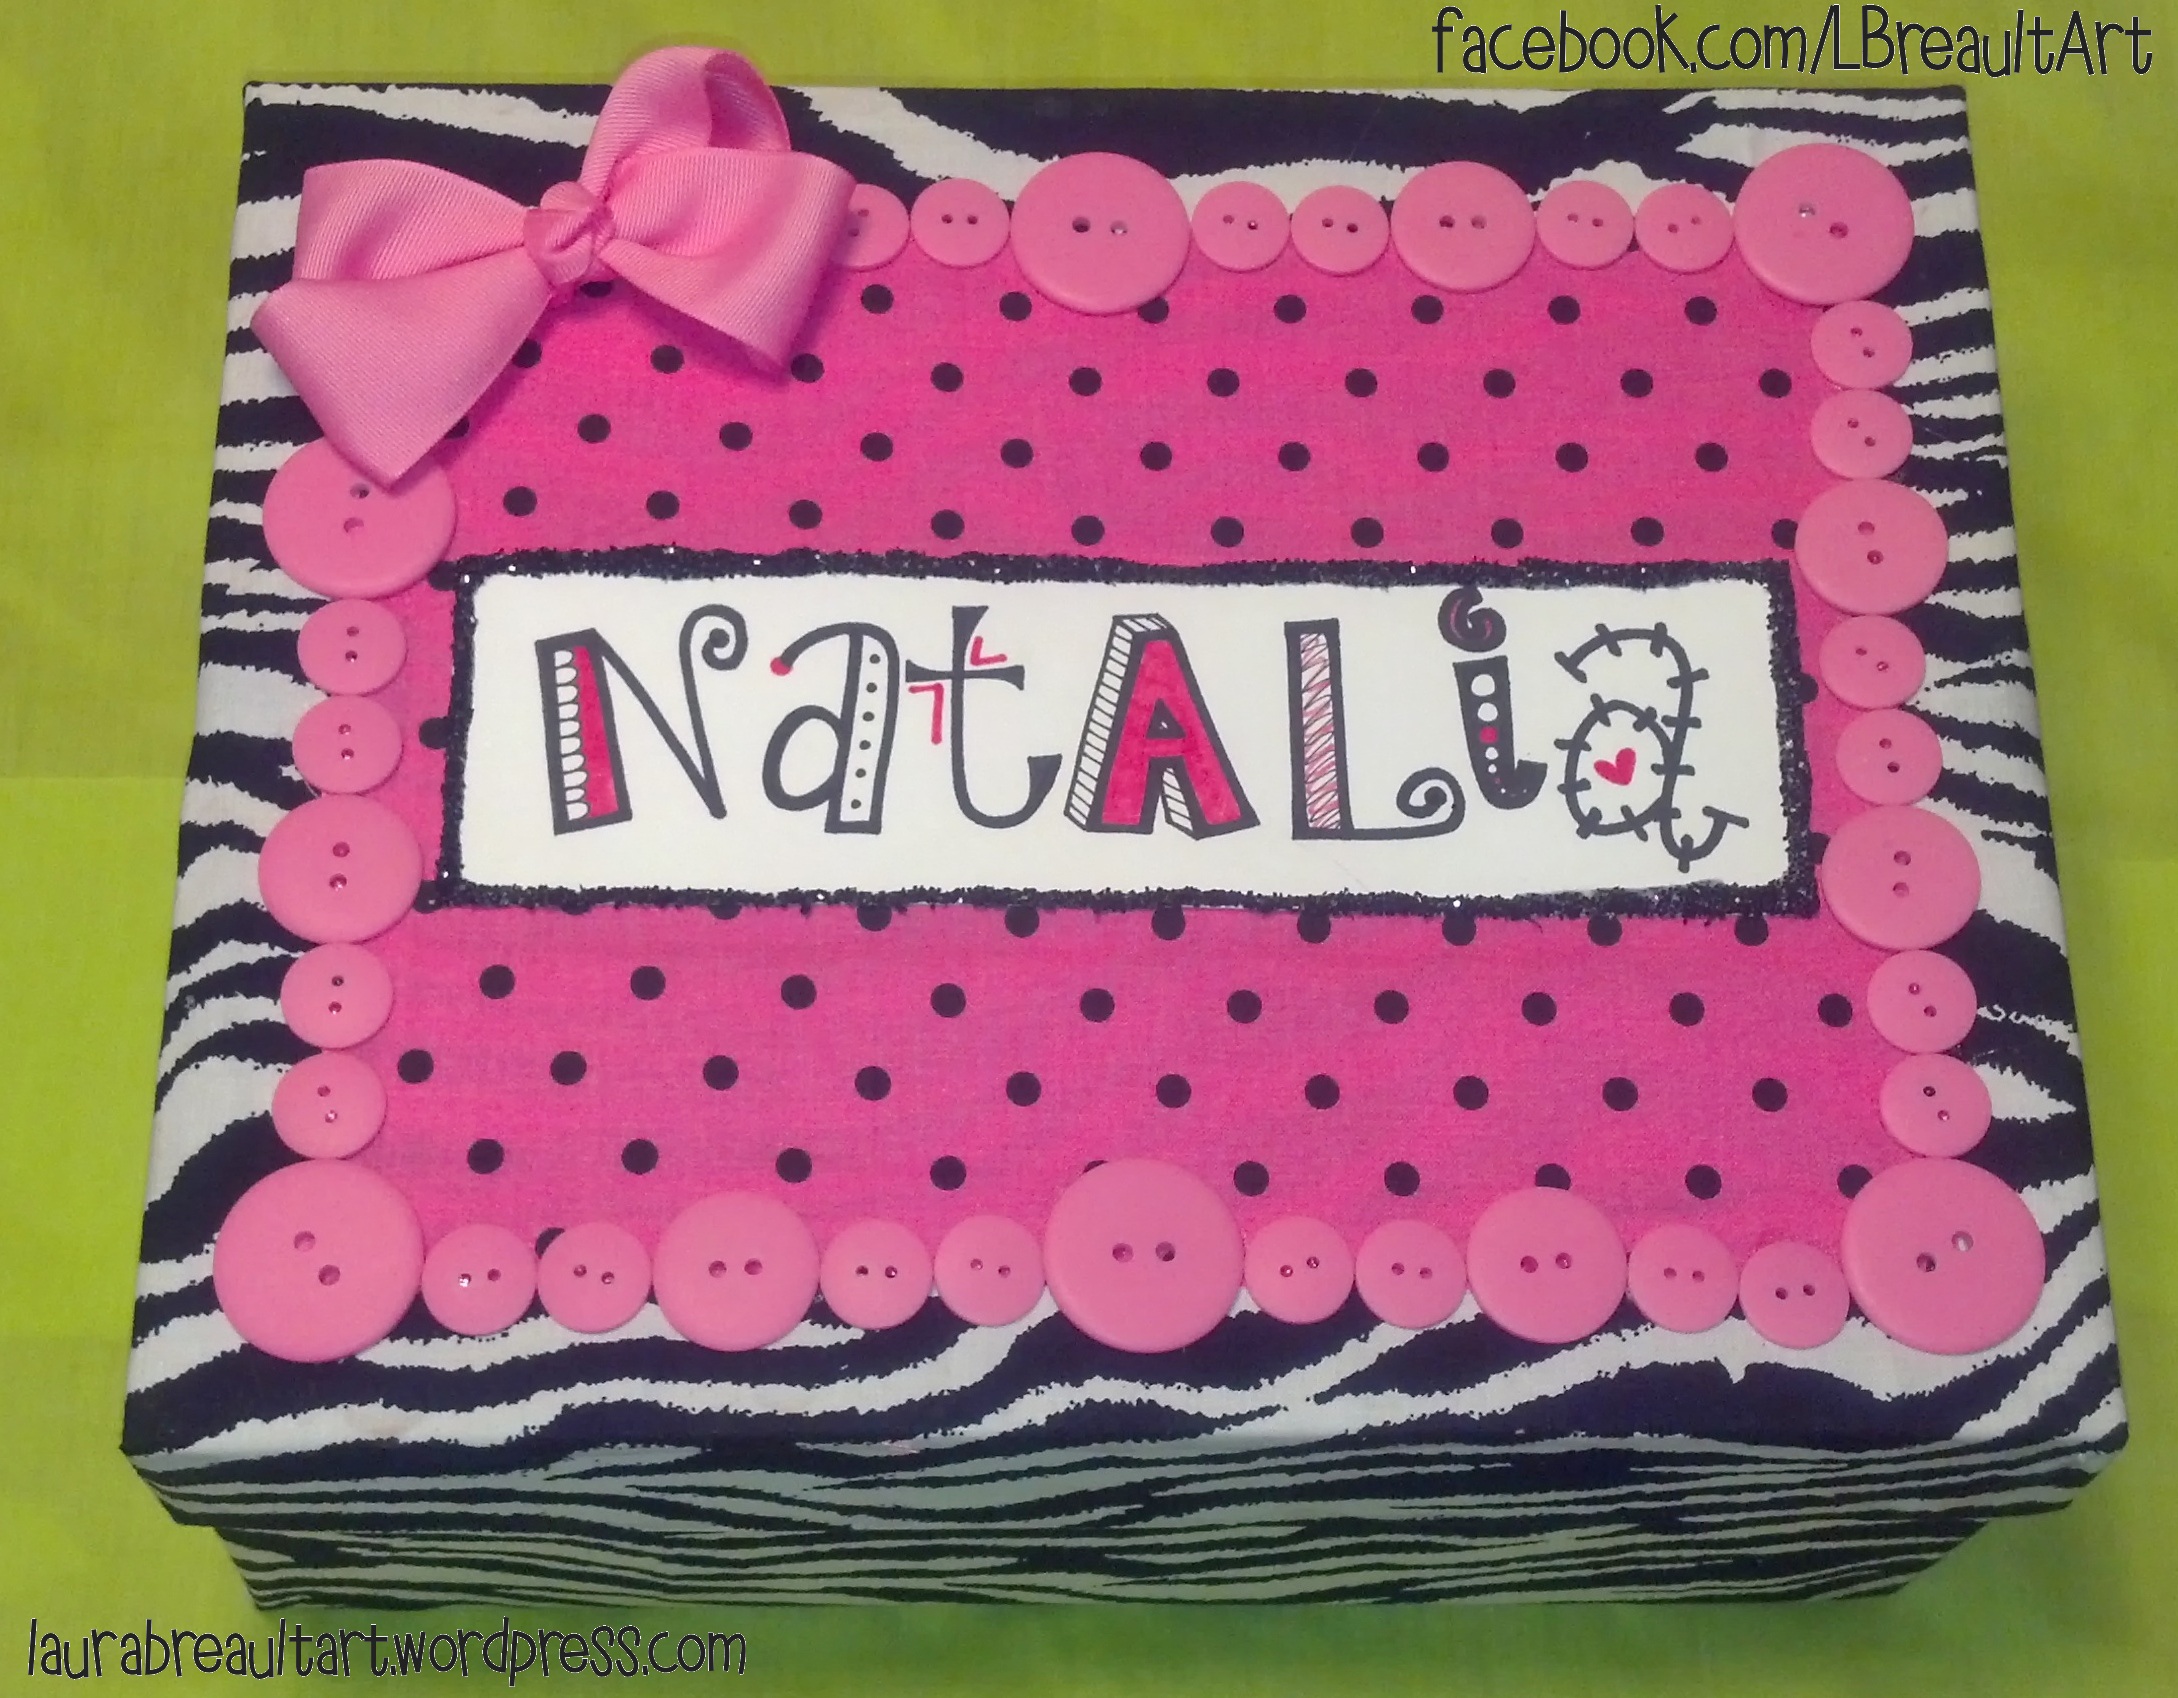
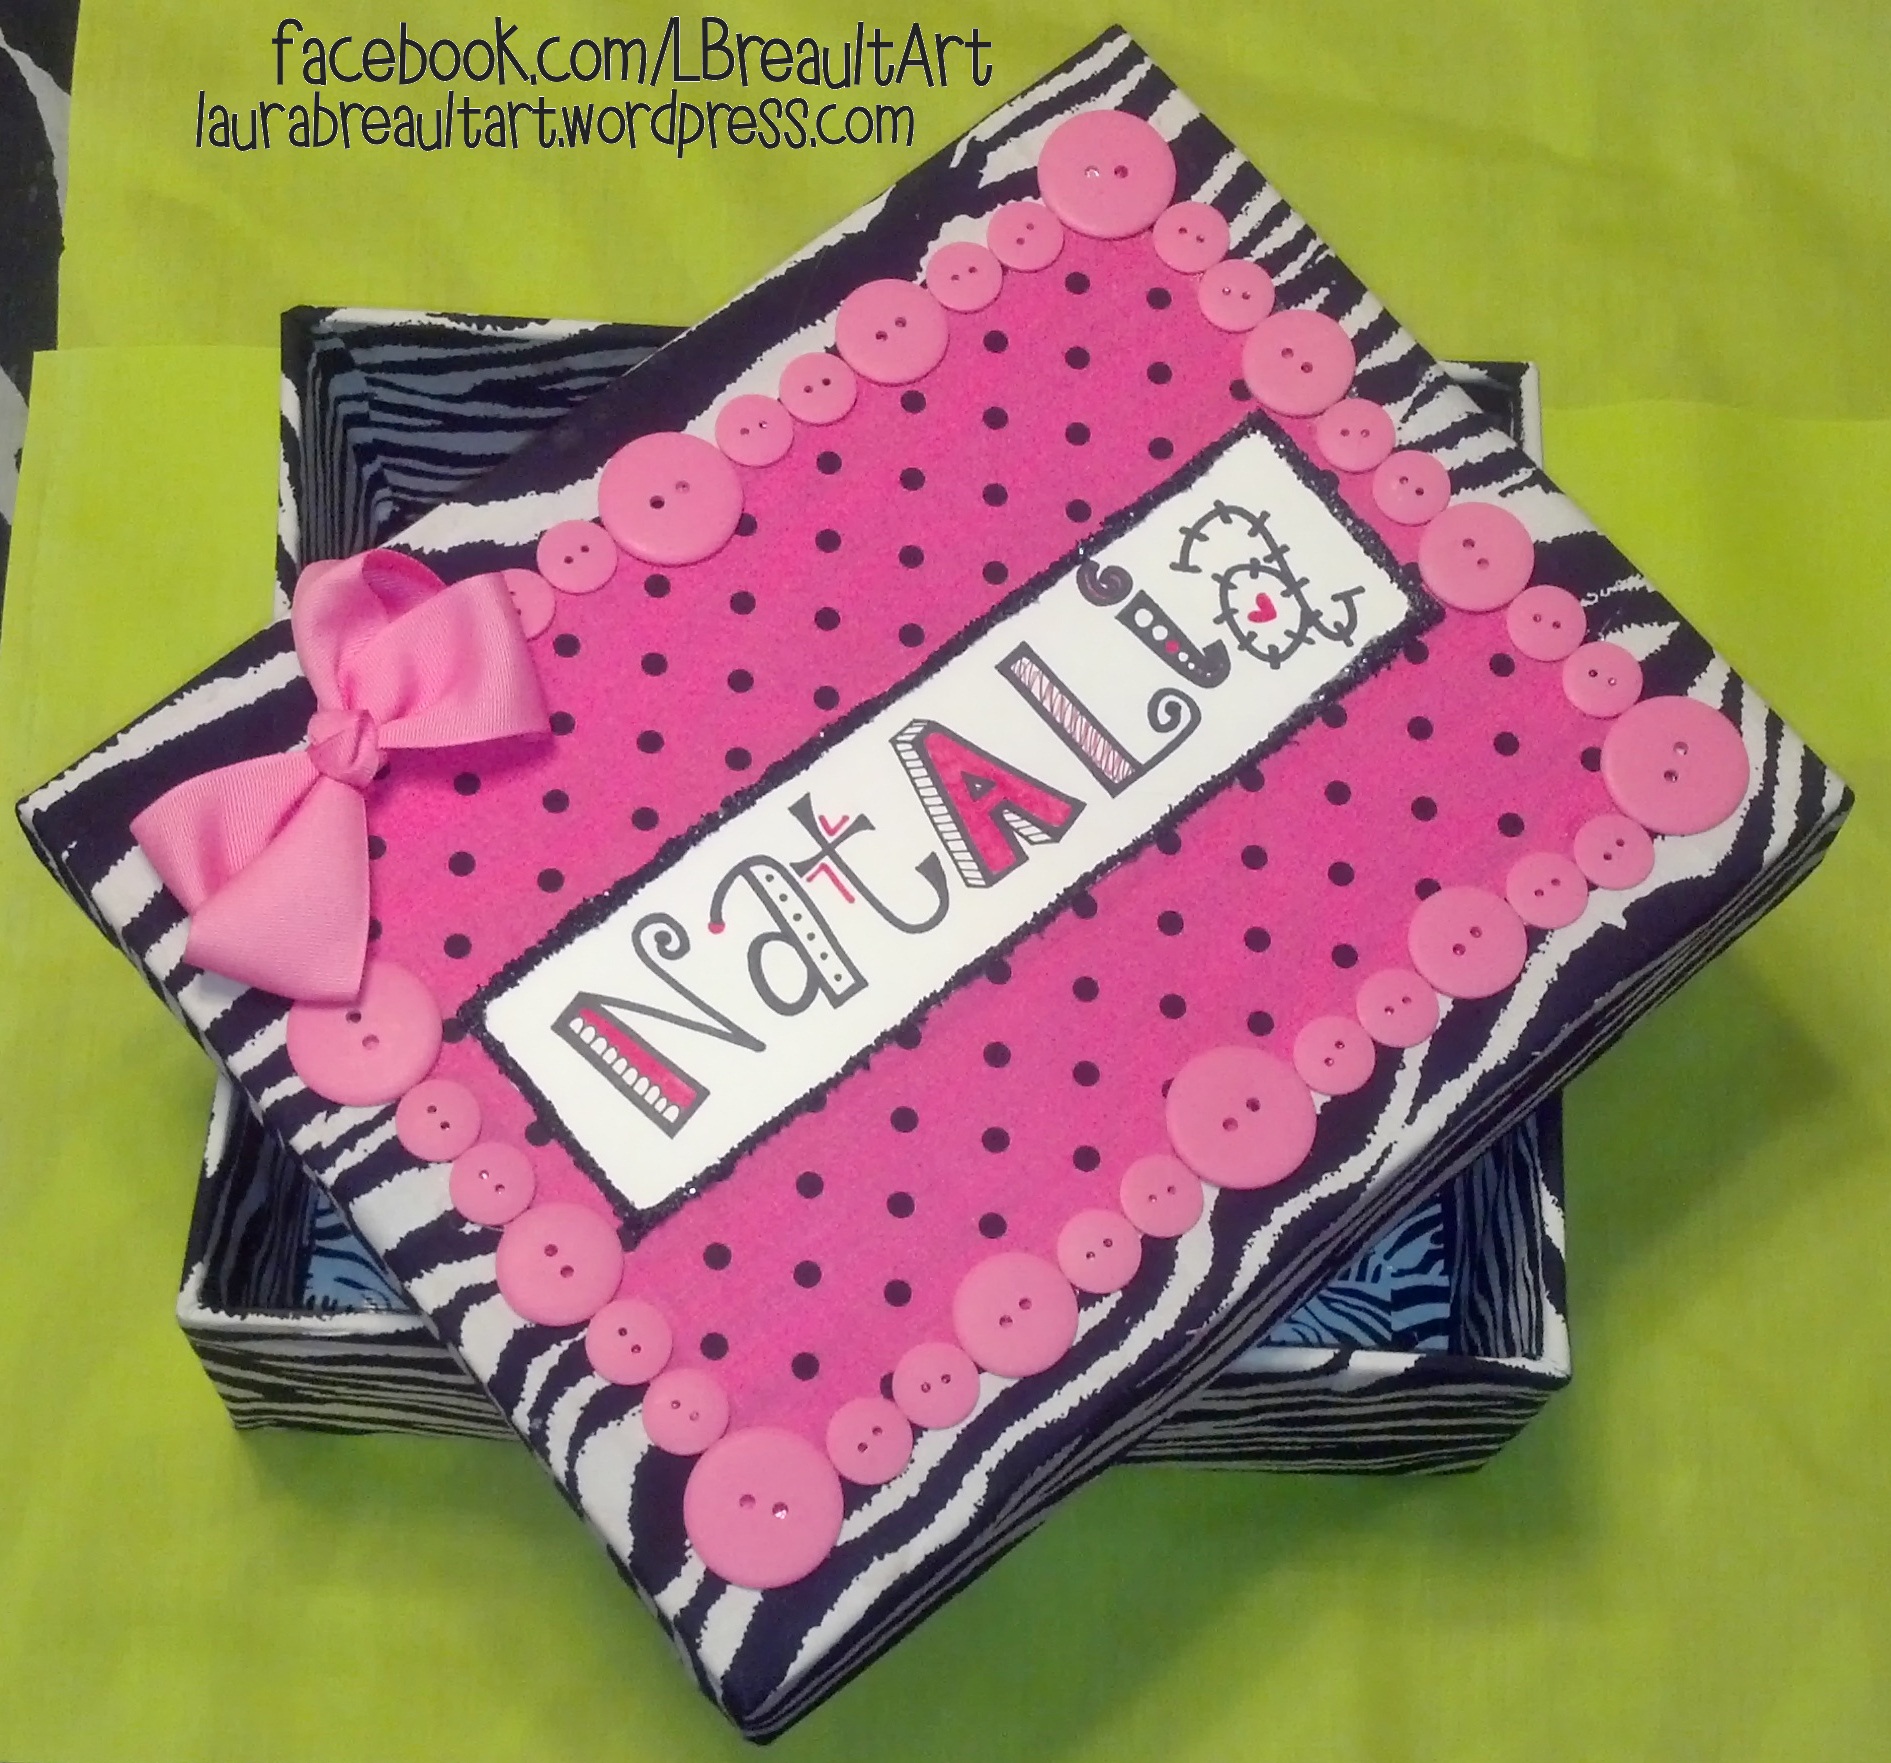
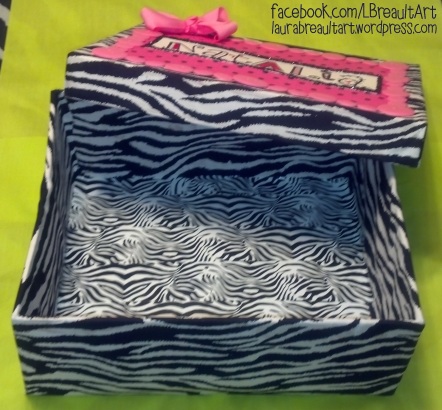
This is my newest baby project: Natalia’s baby box. I decided to make her a box that would contain all her keepsakes as memoirs. I wanted to decorate it to match her nursery which is all zebra print with light pink and dark pink polka dots. This is the completion of it & I think it turned out 10x times better than I imagined in my head! Even though I sketched it before hand. ;D
This is the second box that I’ve decorated and I did a wayyyyy better and faster job on this one than my first. It only took me 3 days to complete, but only because I had to wait to go to the store to get the rest of the supplies I needed. When I made my first box, I googled “how to decorate a box” and was disappointed not to see too many instructions on how to do that. So I am going to make my own instructions on box decorating!
- Brainstorm! The first step is to think about what you want to have a box for of course. It could be to store things in, to give as a gift, or simply just for a decoration project when you’re bored!
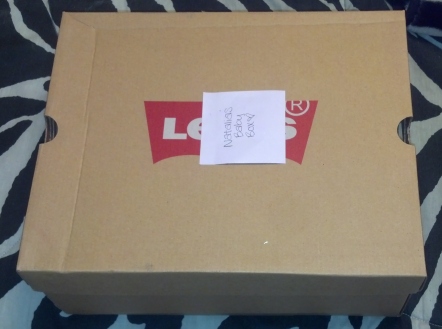
- Decide what size box you need/want, and go get it! I knew I needed a big box because I was going to store an entire baby book along with other bulky items such as her homecoming outfit and things of the like. I got my box for free at a shoe store because buying a big box would just be too expensive, and they are usually already decorated. What’s the fun in that?!
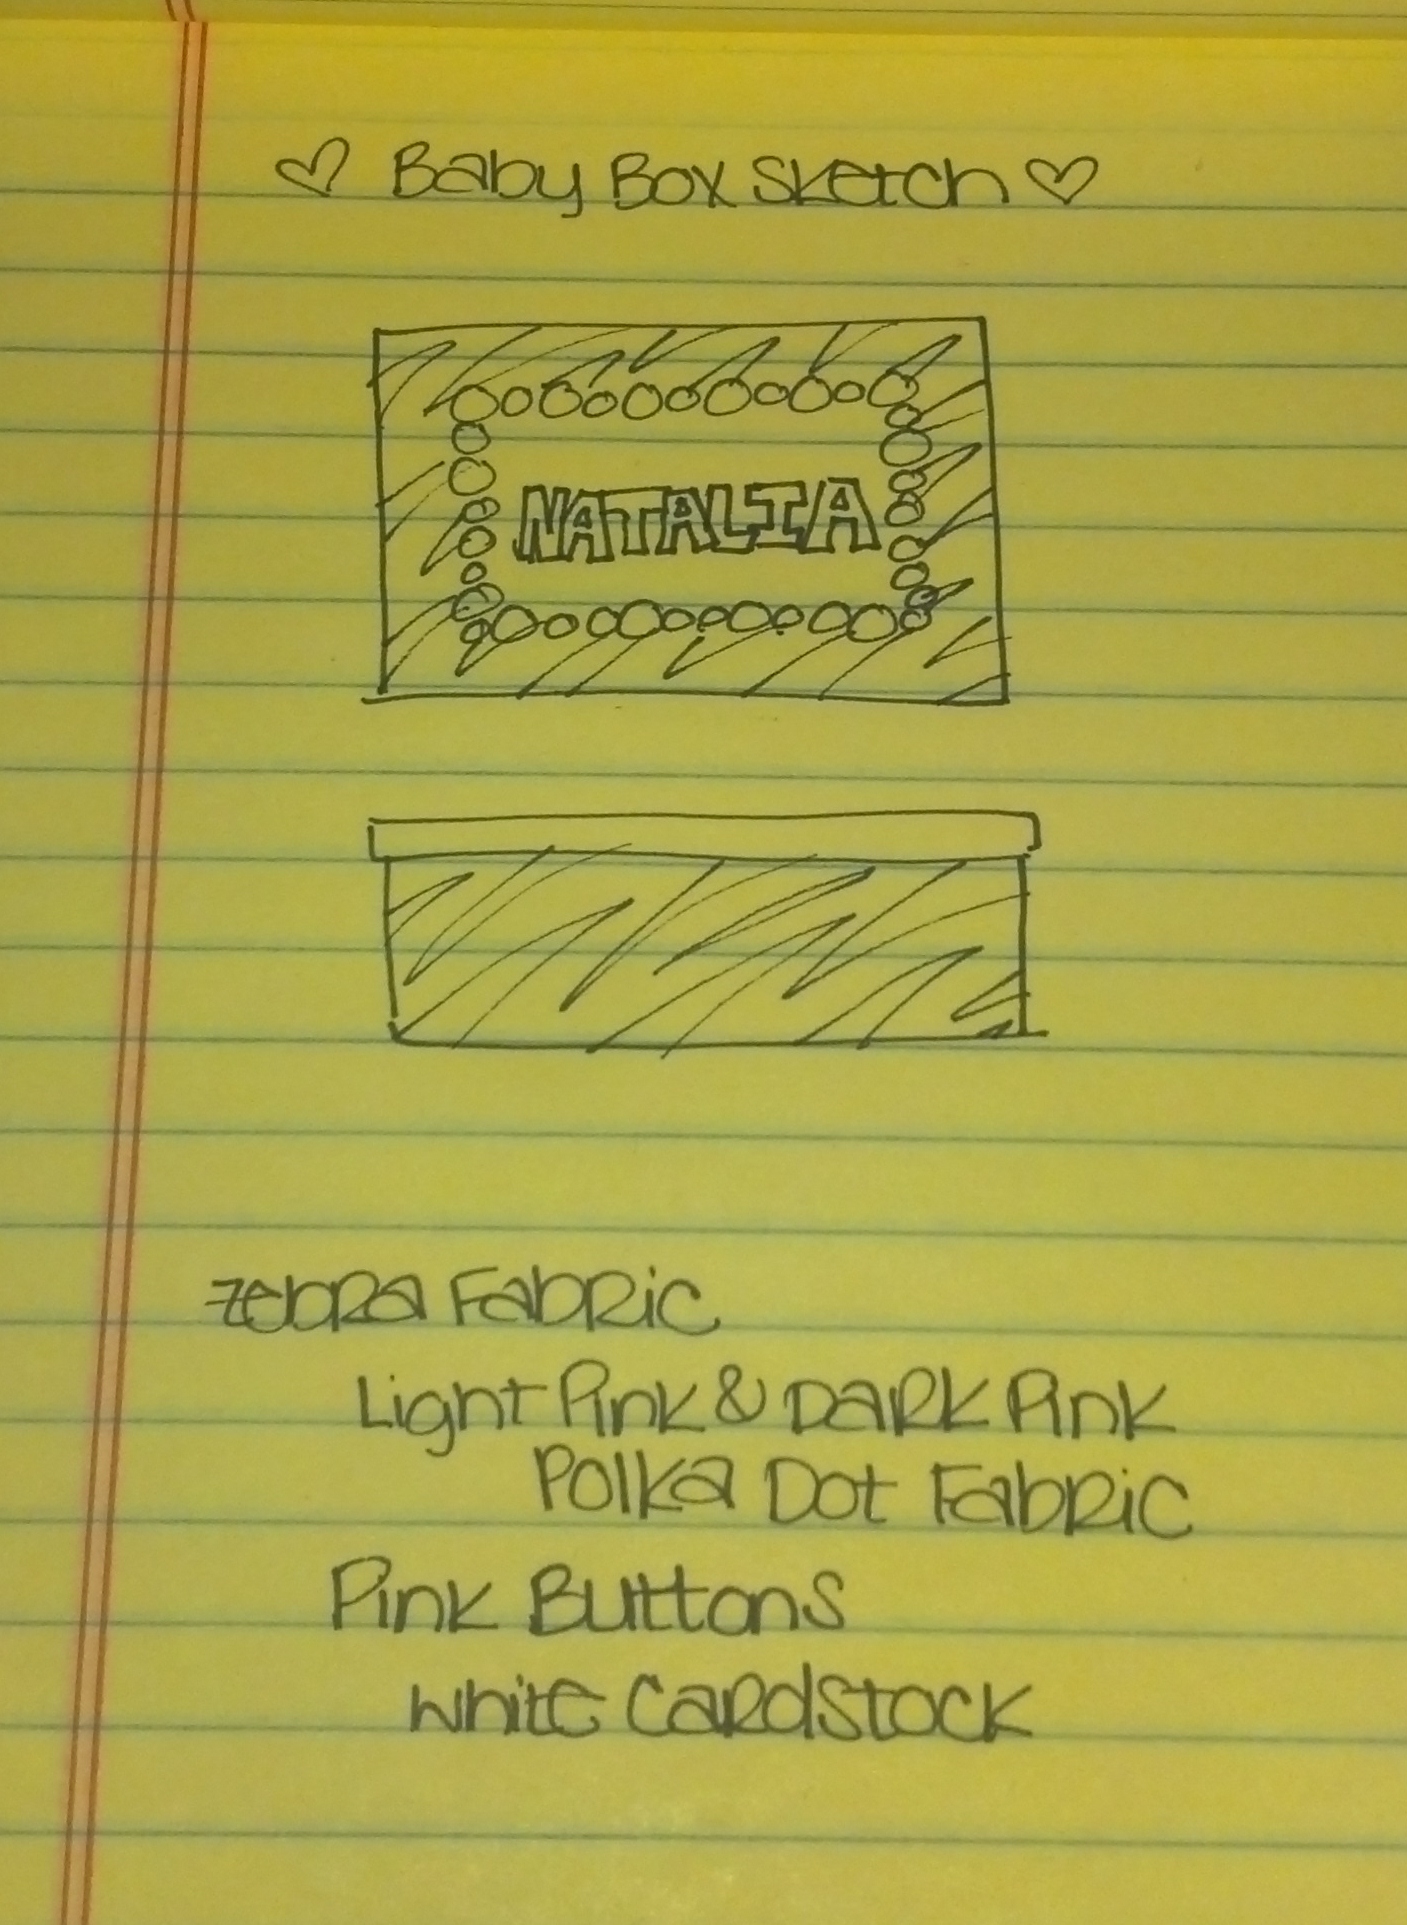
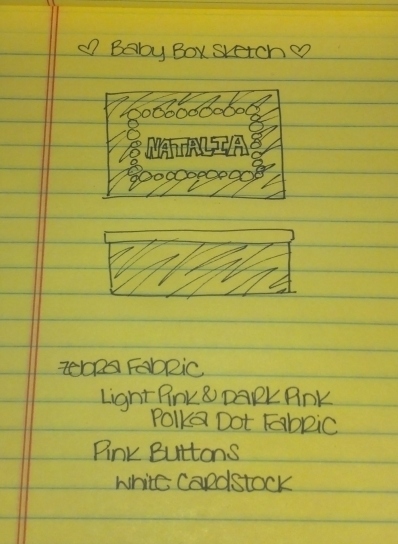
- Sketch a drawing of what you imagine your box to look like. I always think before hand to save time. I sketched how I wanted the box to look like, what kind of fabric I would use, the colors, the accessories, and the font for the lettering.
- Shop for supplies! This is my favorite part (;
Buy everything you will need to make your box. I went to Walmart and bought zebra and polka dot fabric ($8), 3 packs of assorted pink buttons ($6; $2 ea.), a pretty pink bow clip in the children’s section ($1), and then went to Save A Lot for fabric glue ($2) because it’s just cheaper there. The other supplies, I already had, which include a sharpie, a pink marker, and card stock to draw the name, loose black glitter, Elmer’s glue, fabric scissors, and zebra duct tape ($3.50).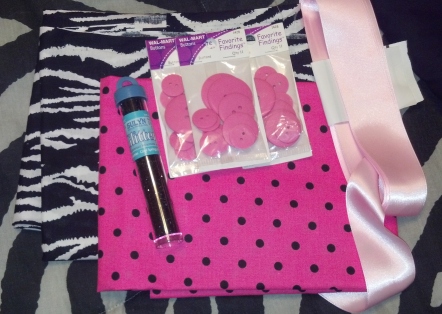
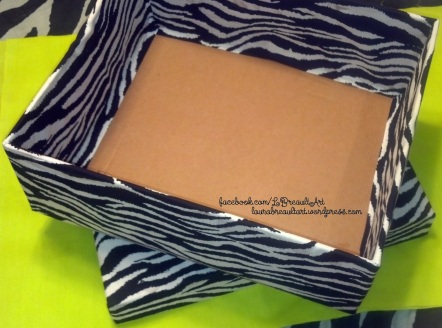
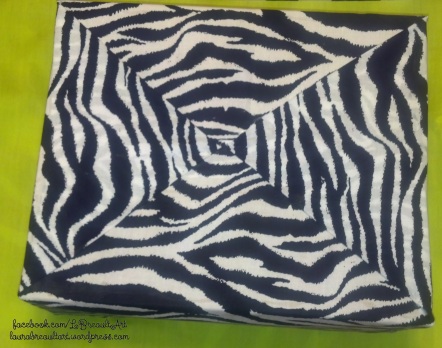
- Measure and cut fabric to size of the box. I bought such a large piece of zebra fabric that I didn’t have to do too much cutting and it turned out looking so much better than if I would have had to cut it to fit around the corners because it wrapped around perfectly (conveniently for me). I started by gluing one side at a time and letting it dry before I went on to gluing the next side, this way when I pulled the fabric around the corner, I wouldn’t move the fabric I just glued out of place. Make sure you glue the very outside edges of the inside and the outside of the sides of the box. Otherwise, if you just glue the insides, you will have to come back around and glue the outside, but it will be hard to lift the fabric because it will already be glued around the box.
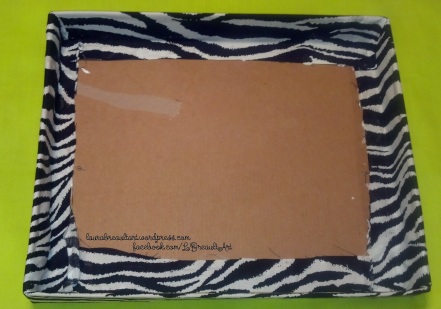
- To give the bottom of your box a neat finish, fold the fabric as if you were wrapping a preset box and glue the trim down and hold it in place until it’s somewhat dry (It will completely dry on its own, but this makes the fabric completely flat because the glue will seep through the fabric).
- You can use the same technique to fabric the lid, but the lid is easier because you can glue the edges of the top, place the fabric, let it dry, and then one by one glue each side down, folding the corners inwards to make it look neat.
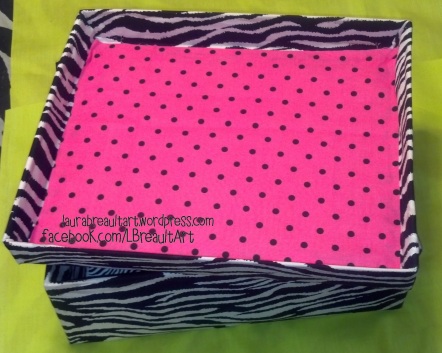
- Cover the bottom of the inside of your lid and box. I used the pink polka dot fabric to cover the inside of the lid, and zebra duct tape to cover the inside of the box. I used tape because it was easier to make stick, it would hold the bottom fabric in place and it looks good! I used the pink on the lid because I wanted it to be different. 😀
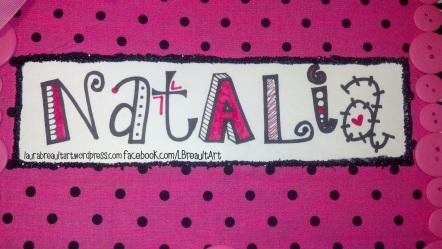
- Lastly, decorate it however you like! I cut a smaller sized square piece of the pink polka dot fabric and glued (just the edges) in the middle top of the box lid. I then drew Natalia’s name in cooky, child like font letters. I used the elmer’s glue to glue a trim on the outside of the card stock and sprinkled glitter all over it to give it a cute border. Then I glued the pink buttons on the border of the pink fabric, after I arranged them to make sure they would all fit. I glued the pink box in the corner and then her name in the middle. Finally finished! Although I still want to get some black sequin ribbon to glue on the inside of the lid to border the pink fabric under there, but for now it looks good, and the ribbon can wait until next time I go to the store.